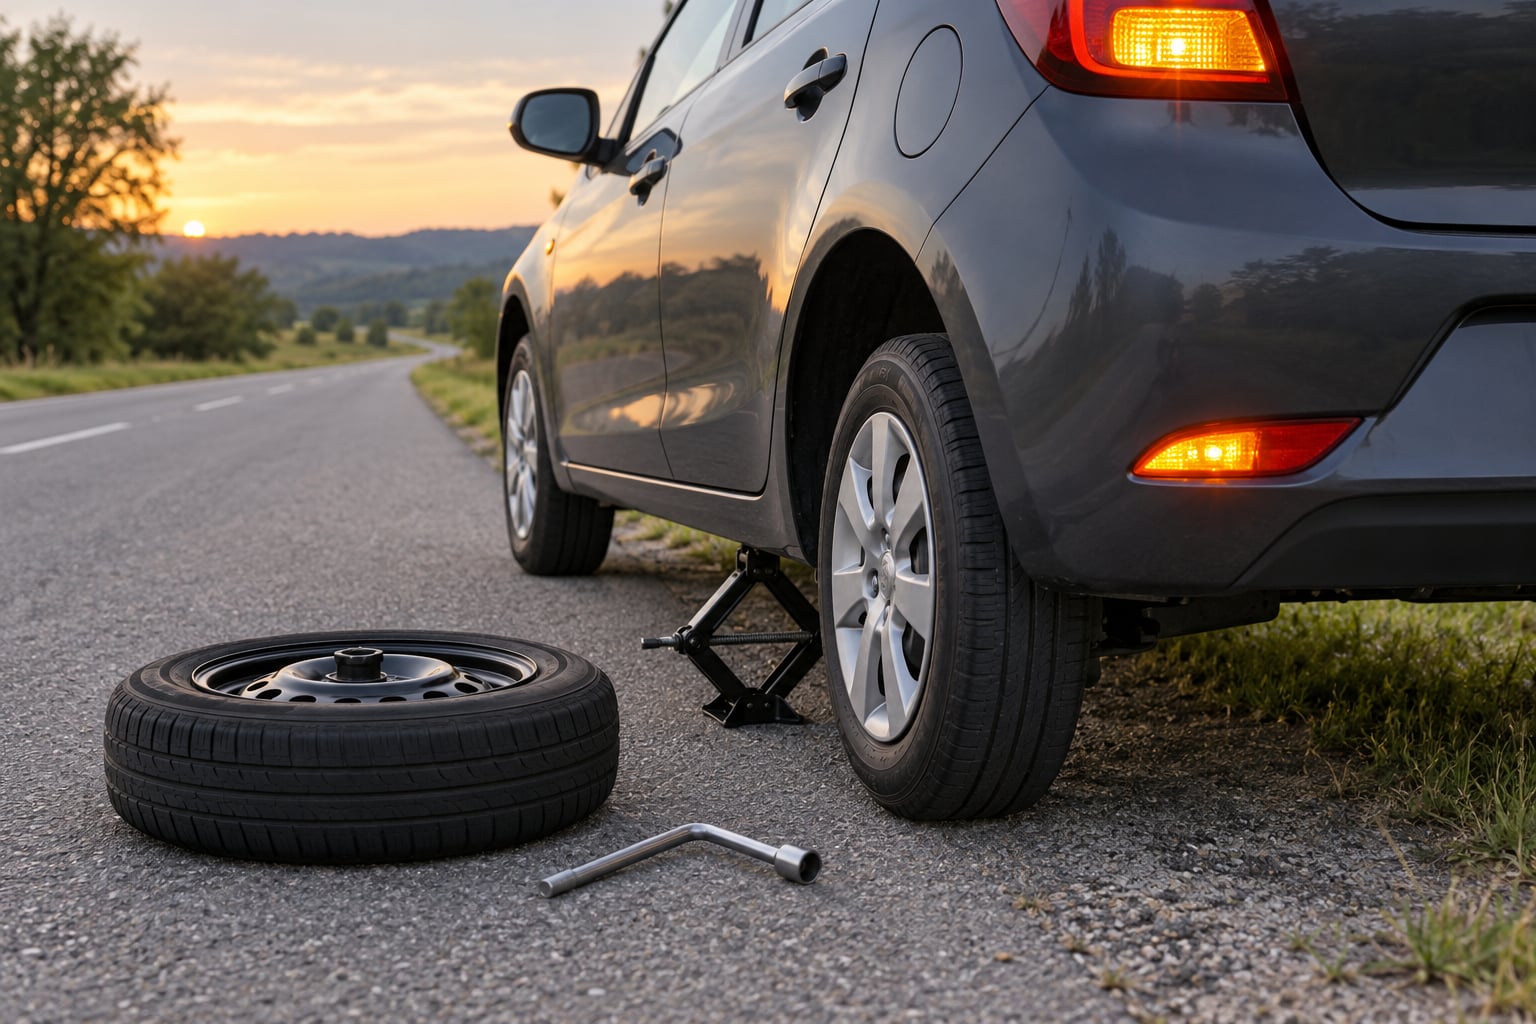
To change a flat tire on the side of the road, pull over onto level ground as far from traffic as you can, turn on your hazard lights, set the parking brake, and loosen the lug nuts before lifting the car with the jack at the manufacturer’s jacking point. Then swap the wheel for your spare and tighten the lug nuts in a star pattern. It takes 15 to 30 minutes with the right tools.
The catch is that most tire changes fail before they start, not during them. People jam the jack into the sill instead of the reinforced jacking point and dent the pinch weld. They try to force a seized lug nut and snap the wrench. They lower the car back down onto a completely flat tire and destroy a sidewall that was repairable ten minutes earlier.
Read this once through before you ever need it, then check your trunk on the next road trip. Everything below assumes you are in ordinary clothes, possibly in the rain, possibly at night, and possibly holding a phone you are using to call for help.
Table of Contents
- What You Need
- Step-by-Step: How to Change a Flat Tire on the Side of the Road
- 1. Move to a Safe Location and Assess the Damage
- 2. Secure the Area Before Touching the Tools
- 3. Loosen the Wheel Nuts Before Lifting the Car
- 4. Position and Use the Jack Safely
- 5. Remove the Flat Tire and Inspect the Wheel
- 6. Mount the Spare or Replacement Tire
- 7. Lower the Car and Tighten the Wheel Nuts
- 8. Stow the Equipment and Check Before Driving
- Common Mistakes
- Frequently Asked Questions
- Conclusion
What You Need
Start in the driver’s seat and work outward. Everything on this list should be in the vehicle before you need it, because a roadside change with half the kit missing turns into a tow.
- The owner’s manual or the printed jack-and-wheel-change section. Your vehicle’s approved jacking points, torque figures and spare tire limits live here, and they differ by model.
- A working spare tire. Check the sidewall for the date code and check the pressure with a gauge. A spare that has been sitting for two years is often already flat.
- The jack that came with the car. A scissor jack for unibody vehicles, a bottle jack for many trucks and SUVs. Know which kind you have before you find out.
- The lug wrench or wheel wrench. Some vehicles ship with a four-way pattern, some with a folding socket wrench. A torque wrench is a bonus if you have one.
- The wheel lock key, if your car uses locking lug nuts. This is the single most-missed item in the trunk. Without it, roadside assistance cannot mount the spare either, and you may need the vehicle to be towed.
- Wheel wedges or chocks. A block of wood, a heavy bag, or a wedge from the trunk. These go behind the wheel diagonally opposite the flat one.
- A tire pressure gauge and a portable inflator. Both are cheap and both turn a roadside stop into a controlled drive to a shop rather than a second roadside stop.
- Work gloves and a reflective safety vest. Gloves protect your knuckles on a bolt you cannot see. The vest makes you visible from far away at speed.
Before any of it matters, find out what kind of spare you are actually carrying, because the driving limits differ sharply.
- Temporary space-saver (doughnut). About 50 mph and roughly 70 miles. It is not meant to be repaired or reused after the drive, so you replace it.
- Full-size fifth wheel. No speed or distance restriction, and the tire itself may be repairable if the damage is in the tread.
- Run-flat tire. Normal road speed, but usually limited to around 50 to 70 miles at reduced pressure. Inspect it before you trust it again.
- Mobility kit only. A sealant and plug system, low speed and a short trip to a shop at best, and tread punctures only.
Newer cars increasingly ship with a mobility kit and no spare at all, so open the trunk before you assume anything. If you drive long distances on rural highways, knowing which of those four you have is the most useful ten seconds you can spend before a trip.
Step-by-Step: How to Change a Flat Tire on the Side of the Road
1. Move to a Safe Location and Assess the Damage
Control the vehicle, keep it moving, and get completely off the travel lane. If you have any usable tread left, drive to the nearest parking lot, wide gravel turnout, empty forecourt or side street before you touch anything.
The tire may have a nail in it, a slow leak, or a sidewall gash. Run your hand around the tread and sidewall after you stop, and look straight at the tire while it is still on the car. A bulge, a cut in the sidewall, or a wheel that looks bent means you stop here and call for help.
If the tire shredded at highway speed, pieces of tread are strung across the road behind you. Slow down, avoid the debris, and stay in your lane. A shredded tire is not a roadside change.
A live highway shoulder is the worst possible place to work. If the car can move at all, move it. A parking area with room to open the door is worth ten extra minutes of rolling at low speed.
Some drivers describe this moment as pure panic, and that reaction has killed people in other roadside emergencies. Slow your breathing, turn on your hazard lights, and make one decision at a time.
2. Secure the Area Before Touching the Tools
Shift into park or first gear, set the parking brake, switch off the engine, and keep the key nearby. If you are on a mild slope, put the vehicle in gear as well; the parking brake alone is not a guarantee on an incline.
Place your warning devices where local law allows it, which usually means behind your vehicle and angled so approaching drivers see them. On a highway with fast traffic, staying inside the car with the seat belt on until the shoulder is clear is the safest option available.
Put a wedge behind the wheel diagonally opposite the flat tire. This stops the car rolling toward you when you loosen the last nut.
Wear the vest and the gloves now, before you crawl anywhere near traffic. Keep your body out of the path of moving vehicles, and never get under a car that is supported only by a jack. Advice repeated across car forums after real breakdowns is blunt on this point: if the jack fails, the car drops, and nothing you do under there changes that.
3. Loosen the Wheel Nuts Before Lifting the Car
This is the step most people get backwards. Loosen every lug nut about a quarter turn while the tire is still firmly on the ground, turning them counterclockwise. A tire with no weight on it means the wrench slips and rounds the nut head.
Fit the lug wrench to the socket size on your wheel. Most passenger cars use 19, 21 or 22 mm, but aftermarket wheels and trucks are often larger, and a mismatched socket is how sockets crack.
Work around the circle rather than nut by nut in sequence. If a nut will not budge, stop and deal with it before lifting. Do not stand on the end of a short wrench and jump on it; that snaps studs and bends the wheel, and it turns a 20-minute job into a tow.
Put the nuts in your pocket or a bag immediately after they come off. Count them. Five in, five out, every time.
Most drivers get at least one flat in their driving life, and the cars most likely to have seized nuts are the ones that have never had their wheels off. Expect that, and take a longer break bar to the shoulder if you have one.
4. Position and Use the Jack Safely
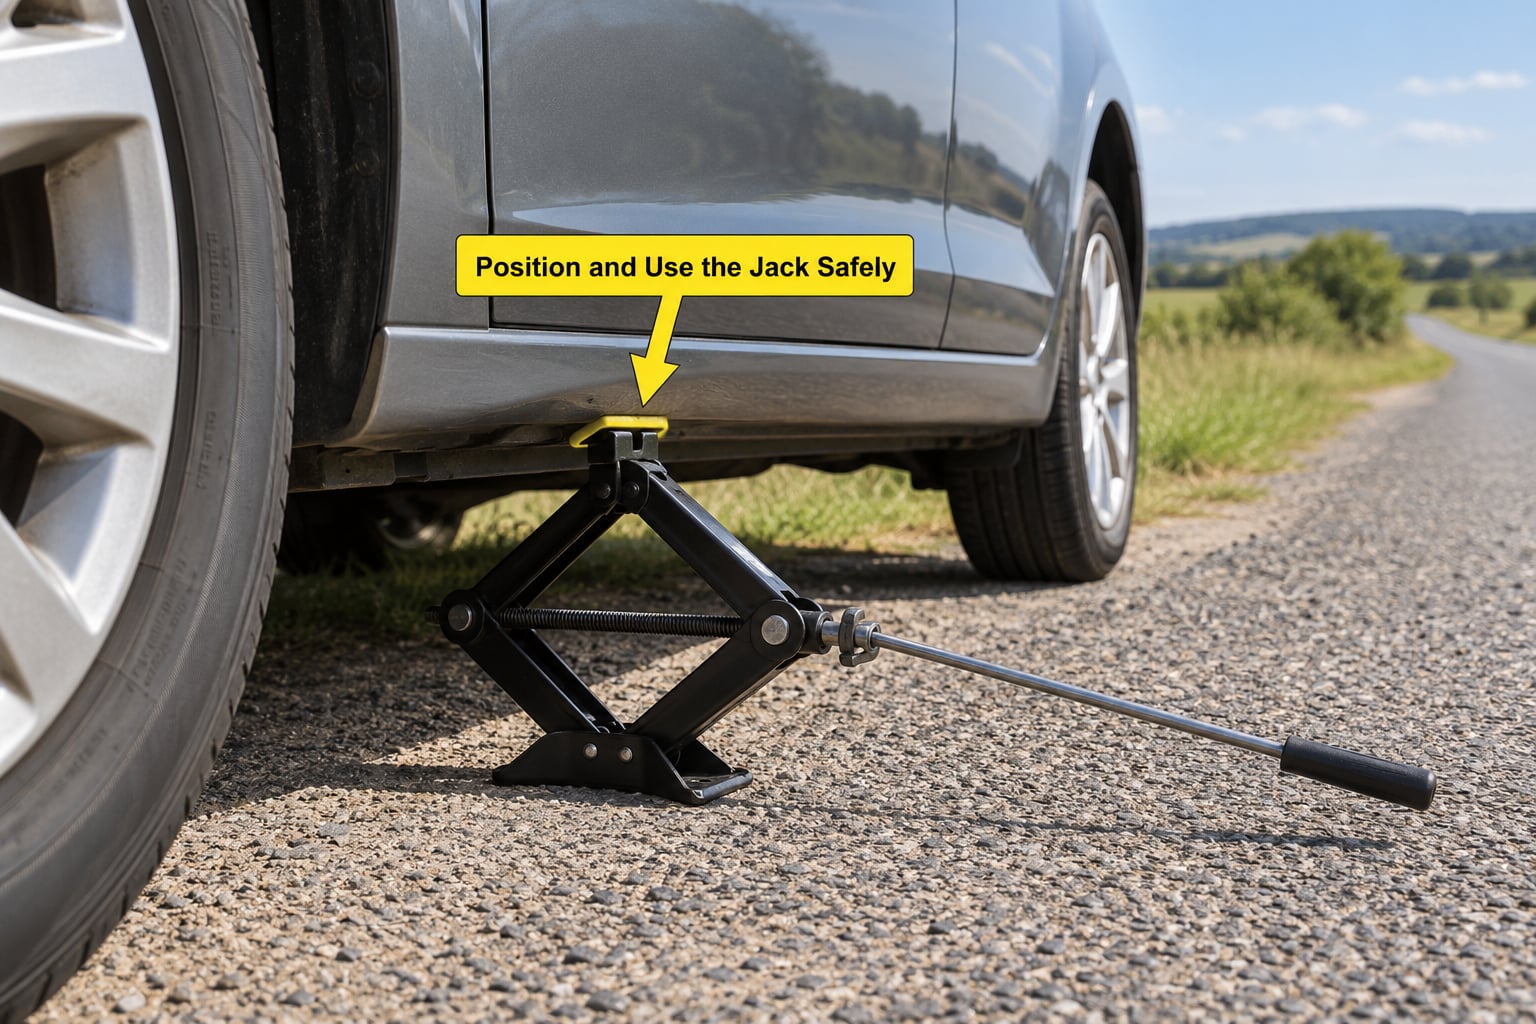
Find the jacking point your manufacturer approved. It is usually a reinforced spot in the rocker panel near the door, often marked with an arrow or a small jack symbol, or listed in the manual. On many unibody cars it is the pinch weld, the double layer of sheet metal under the door. It is not the seam, and it is not the plastic trim.
Check the ground. Jacking on soft grass, gravel or sand lets the jack sink and the car tilt, which is how people get hurt. If the shoulder is soft, look for a firm strip of dirt, a paved apron, or a flat concrete pad nearby.
Open the jack fully, seat the head flat against the metal, and crank slowly. Raise the vehicle only until the flat tire clears the ground by about six inches. Higher is not better, and a fully extended scissor jack is less stable than one at working height.
Stop when the tire is free. Do not go under the car, and do not put your face near the wheel.
5. Remove the Flat Tire and Inspect the Wheel
Finish unscrewing the lug nuts, remove them, and pull the wheel straight off the studs. Rock it gently if it resists. Do not lever it with a screwdriver or pry bar, and never lay an alloy wheel face down on the pavement, because the rim edge gets damaged and it will not seal again.
Now look at what you have uncovered. Check the studs for damage, the hub face for rust or debris, and the spare tire for cuts or a puncture of its own. A tire that has been sitting in a trunk under a spare tire carrier often has a crease or a nail in it already.
Look at the flat too, while it is off. If the damage is in the tread, the tire is probably repairable. If the cut is in the sidewall, it is finished. Sidewall punctures cannot be plugged, and no amount of sealant fixes a cord break.
This is also the moment to note anything caught in the tread. If the wheel bore, the pinch weld or the valve stem is bent, stop and call for assistance.
6. Mount the Spare or Replacement Tire
Line the holes in the spare up with the wheel studs and slide it straight on. If it stops partway, pull it back off and check that nothing is between the wheel and the hub face. Forcing a wheel on with a stud threaded inside it damages both parts and can mean a new hub.
Put the valve stem facing outward, away from the vehicle, which keeps it clear of the body as you drive.
Thread each lug nut on by hand, a couple of turns each, before touching the wrench. Hand-threading matters more than it sounds: it keeps the nut from cross-threading and confirms every stud is actually engaged. If you cannot start a nut by hand, something is wrong with the alignment.
Seat the wheel flat against the hub before you crank anything. Tighten each nut snugly with the wrench, then stop and prepare to lower the car.
7. Lower the Car and Tighten the Wheel Nuts
Crank the jack down slowly until the tire takes the vehicle’s weight. You should be able to feel the load shift onto the tire as it makes contact with the road, and then the tire squashes slightly under the car.
With the car now supported by the tire and the jack only partway extended, tighten the lug nuts firmly in the manufacturer-approved pattern. For a four-lug wheel, work in opposing pairs. For a five-lug wheel, work in a star pattern, going to a nut that is not adjacent to the one you just tightened.
The reason is simple. Tightening in a circle pulls one side of the wheel tight first and leaves the opposite side loose, which gives you a vibration within a few miles and an uneven load on the studs. The star pattern seats the whole wheel at once.
Tighten until snug, not until you bend the wrench. Many drivers overtighten because the wrench is still moving past the point of contact. If your vehicle has a published torque figure, follow it.
Remove the jack fully, pull the wedge, and only then get back in the vehicle.
8. Stow the Equipment and Check Before Driving
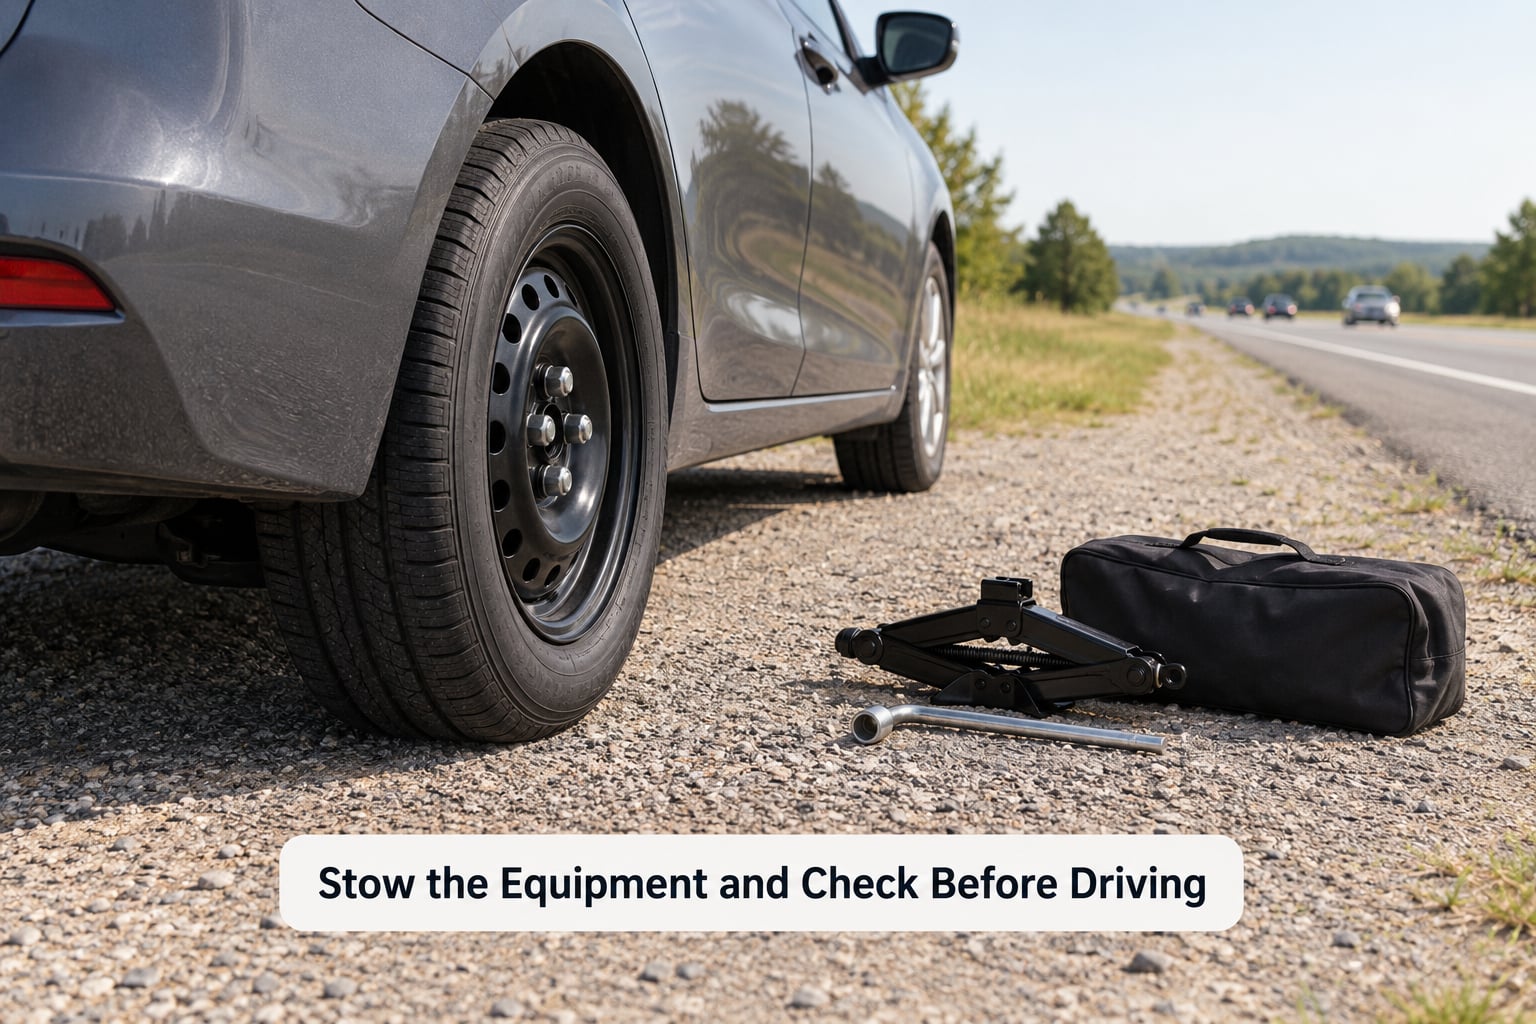
Put the flat tire in the cargo area rather than dropping it in a footwell where it can roll into the pedals. Gather the jack, wrench, wedges and any wheel lock key, and stow all of it before you drive a single mile.
Walk around the vehicle and check that the spare is seated evenly, that nothing is hanging loose, and that no debris is left in the road. A bottle jack left behind at night is a hazard to the next driver.
If you have a pressure gauge, check the spare now and inflate it to the door-jamb pressure. Many temporary spares are meant to be inflated to around 60 psi rather than the car’s usual figure, so read what is stamped on the tire itself.
Before you set off, settle three things: your speed limit while the temporary spare is fitted, the maximum distance it is rated for, and where the nearest tire shop is. Expect the tire pressure monitoring light to come on after fitting a spare of a different size. That is normal and not a reason to keep driving, but it will not clear itself until the original wheel is back on.
Drive slowly and smoothly to a shop and get the wheel-nut tightness checked again after 50 to 100 miles, because a wheel mounted at the roadside rarely stays at exactly the same torque once it has taken real road loads.
Common Mistakes
Working on a live highway shoulder. This is the mistake with the worst consequences. If the car rolls at all, drive to the nearest parking lot. If it cannot roll, stay belted in, hazards on, and call roadside assistance rather than stepping into fast traffic with a jack.
Jacking at the wrong point. The pinch weld is the reinforced section under the door, not the seam, the trim, or the plastic rocker cover. Jacking on the wrong spot bends sheet metal, and the repair is far more expensive than the tire you were changing.
Tightening the nuts before lowering the car. Once the vehicle is resting on the spare with the jack extended, the jack carries part of the load and you cannot get the nuts properly tight. Lower the vehicle first, then torque to the pattern.
Loosening the nuts with the wheel already lifted. A suspended wheel spins under load and rounds the nut heads. Loosen everything a quarter turn while the tire is on the ground, then lift.
Overtightening because the wrench still turns. A long handle feels like it should keep going. It does not. Snug, seated, and following the star pattern is the goal.
Lowering the car back onto a completely flat tire. Drivers learn this one the hard way. The sidewall folds and the tire has to be replaced rather than repaired, which is the whole reason the spare exists.
Driving on a tire with visible sidewall damage. A bulge, cut or exposed cord can let the tire separate from the rim without warning. That is a tow, not a drive to the shop.
Ignoring temporary spare restrictions. A space-saver spare is built for a short trip at low speed. Treat it as roughly 50 mph and about 70 miles, and know that it is not meant to be re-used after the drive.
Two smaller habits matter more than they sound. Keep gloves on, because a knuckle across a hidden lug seat ruins the job. And never put your hands or face under a car supported by a jack alone; lower it onto the spare and let the tire take the weight.
Frequently Asked Questions
Can I change a tire on the side of a highway?
Only if there is nowhere safer to stop. A parking lot, wide turnout or side street beats a shoulder every time, even if it means rolling slowly for a few hundred yards. If the tire is completely flat and the car cannot move, hazards on, stay belted in, and call roadside assistance rather than standing in a live lane with a jack.
How long does changing a flat tire usually take?
Fifteen to thirty minutes for most people working alone with the factory jack and wrench, including finding a safe spot and stowing the equipment. Add time on gravel or soft ground, and add a lot if a lug nut is seized or a wheel lock key is missing. Driving to a shop afterwards is usually the longest part of the whole afternoon.
What should I do if my car has no spare tire?
Call roadside assistance before you try anything creative, and check whether your insurance or a manufacturer program covers a change or a tow. Many cars now carry a mobility kit instead of a spare, which plugs tread punctures only. A kit is not a substitute for a spare on a high-speed road, because a plugged tire at highway temperature can fail again quickly.
How fast can I drive with a temporary spare tire?
About 50 mph is the common limit printed on temporary space-saver spares, and roughly 70 miles is the typical distance limit before you risk destroying the tire. The sidewall states both numbers, and those printed figures govern. A full-size fifth wheel spare carries no such restriction and can be driven at normal speeds.
How tight should the wheel nuts be after I install a spare?
Tight and evenly seated, using the star pattern for five-lug wheels and opposing pairs for four-lug ones. Work each nut snug rather than to a heroic torque, because overtightening stretches the studs and causes the wheel to loosen later. If your vehicle publishes a torque figure in the manual, use it. Recheck after 50 to 100 miles of driving.
Is it safe to drive after changing a flat tire?
On a full-size spare, yes, and a properly mounted temporary spare is safe for a short trip to a shop within its stated speed and distance limits. It is not safe to drive on if the spare is underinflated, the wheel was not seated flat against the hub, the tire has sidewall damage, or you are missing a nut. Get the wheel-nut tightness checked by a shop either way.
Conclusion
Your first action is not the jack. It is deciding whether the place you are stopped is a place you can safely work, and calling for professional help if the answer is unclear or the location is a live shoulder.
If the spot is safe and your equipment is complete, follow your owner’s manual and work through the eight steps above in order. If anything is missing, wrong or forcing, stop and let a technician handle it. Then check the spare’s pressure and confirm the wheel lock key is in the trunk before your next long drive.