To plan a multi park road trip, pick a geographic cluster of parks that sit within about three hours of each other, give each park one day for a small site and two to three days for a large one, cap driving at four to six hours a day, and book in a fixed order starting with entrance reservations and working down to trail permits.
The whole planning session takes about four hours if you do it in the right order, and it is worth every one of them. Most disappointing park trips fail on logistics rather than scenery: a timed entry window missed, a campsite gone, a six-hour drive turned into nine on a mountain road in the dark.
The rest of this guide walks through the process in six steps, then the mistakes that wreck an itinerary and a set of templates you can copy for a five-day, ten-day, or three-week trip. Reservation rules and fees change regularly, so treat every window and figure here as a starting point and confirm the current version on each park’s official page before you book.
Table of Contents
- What You Need
- Step-by-Step: How to Plan a Multi Park Road Trip
- Common Mistakes
- Frequently Asked Questions
- How many parks should I include in one road trip?
- How far apart should the parks be for a multi park road trip?
- When should I make reservations for national park campsites?
- What do I do if the weather is bad during my park road trip?
- Do I need a 4×4 vehicle to visit multiple parks?
- Should I plan lodging or camp between each park?
- Conclusion
What You Need
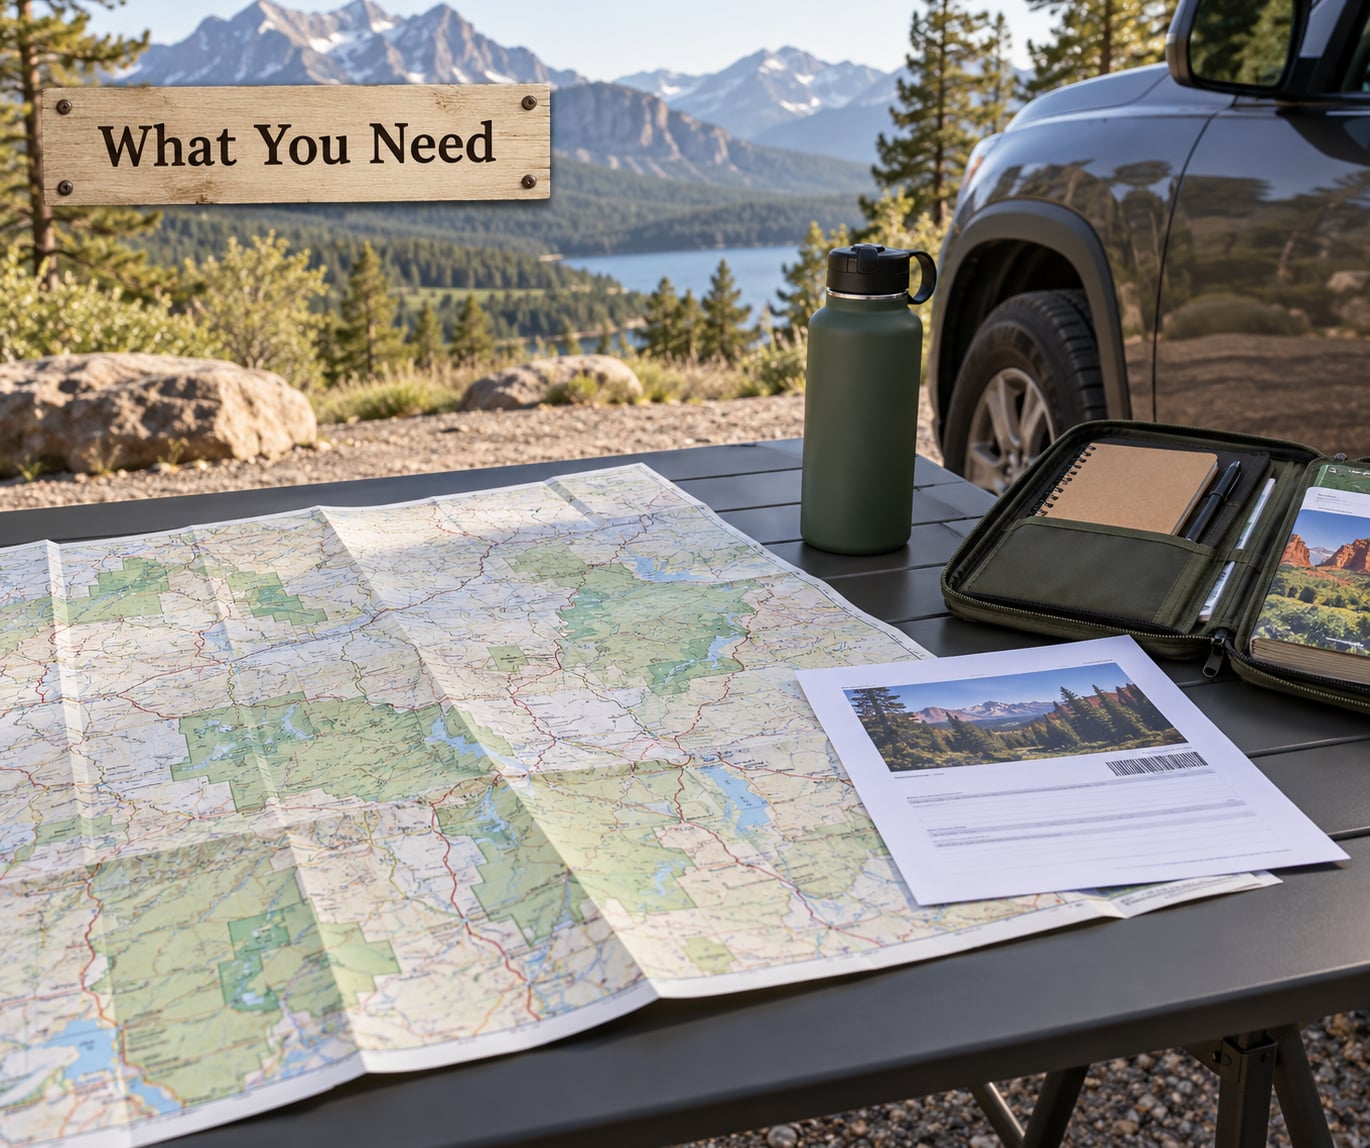
Gather the research material before you pick a single park. The order matters, because the constraints you find in this stage should shape the route, not the other way around.
- A routing tool that handles multiple stops. Google Maps multi-stop routing is the standard free option, and Roadtrippers does the same job with a map that stays readable when you add eight or ten stops. Download the region offline once you settle on the route.
- Official park pages, bookmarked per park. Every park’s own site carries the entrance rules, timed entry dates, camping reservations, permit lotteries, current alerts, and road conditions. Third-party blogs will always be behind the official page.
- Vehicle and fuel details. Tank range on a full tank, where you will refill, and whether you are driving a sedan, a van, or an RV. If you rent, one-way drop fees can reshape the entire route, so price that before booking.
- Seasonal and weather information. Road opening dates, snow chain requirements, wildfire season maps, and average nightly lows for the dates you are actually travelling.
- An emergency plan. Insurance details, the nearest hospital or clinic to each park, and two alternates for every booking you have made.
- A realistic budget spreadsheet. Fuel, lodging or campsites, food, park fees, activities, and a contingency you do not touch.
Print your reservations. Cell service drops out in exactly the places you will need it, and a confirmation number on paper solves a problem a dead battery cannot.
Step-by-Step: How to Plan a Multi Park Road Trip
1. Choose the Parks and Set the Route
Start with geography, not with a wish list of famous names. A multi park road trip fails when the parks are scattered across the country, and it works when every stop sits within a comfortable driving leg of the last one.
Work through three decisions in this order:
- Set a hard limit. Decide the number of days you actually have, then subtract one for arrival and one for the return journey.
- Count the realistic park total. At one park per day plus travel time, a week covers three to four parks comfortably. Ten days covers six to eight. Three weeks covers ten or more.
- Pick the cluster. Choose a region, then pick parks inside it.
Pairing by drive time rather than reputation is the single most useful planning move. These are rough door-to-door figures for daylight driving in good conditions:
| Pairing | Approximate drive | Notes |
|---|---|---|
| Zion and Bryce Canyon | About 2 hours | Utah Scenic Parkway links them directly |
| Bryce Canyon and Capitol Reef | About 1.5 hours | Small, easy leg, great for a mid-trip rest day |
| Capitol Reef and Canyonlands | About 1.5 hours | Two very different landscapes, minimal backtracking |
| Grand Canyon and Zion | About 2.5 to 3 hours | Longer leg, plan it as a full travel day |
| Yellowstone and Grand Teton | About 1 hour | Close enough that one trip can cover both properly |
| Rocky Mountain and Great Sand Dunes | About 2 hours | Easy connector across Colorado |
| Yosemite and Sequoia | About 2 hours | Park road access is seasonal, check it before you commit |
| Acadia and Shenandoah | About 3 hours with a stop | Longer but workable on an eastern loop |
Once the sequence is set, choose a shape. A loop returns you to your starting city and usually costs less because most rental companies waive the one-way fee within the same region. An open-jaw, flying into one city and out of another, cuts a lot of backtracking and lets you build a better route, but the drop fee can run into the hundreds, so compare that against the fuel and time you save.
How do you know the route works? Every driving day is four to six hours or less, no park gets less time than the formula in the next step allows, and no leg requires night driving.
2. Check Reservations, Closures, and Entry Requirements
Check each park’s official page before you finalize anything, because a park with a closed road or a timed entry system changes the itinerary around it. Reservation rules differ park by park, and a few change by season.
Four types of reservation get confused with each other constantly. Knowing which one you need saves both money and time.
- Entrance reservation or timed entry ticket. A dated ticket with an entry window, needed to drive into a specific park during busy hours. Only a handful of parks use this at any given time of year.
- Day-use permit. A separate reservation for a road, ferry, or shuttle inside a park, distinct from the entrance ticket.
- Camping reservation. A specific site in a developed campground, booked on Recreation.gov or a park-run system. These are the hardest to get and they gate the rest of your trip.
- Backcountry permit. Required for multi-night trips into the backcountry, often released through a lottery months ahead or picked up in person a day or two before you go.
Most parks do not gate entry at all. You drive up, pay a fee per vehicle or per person, and go. Do not assume a park you have heard about recently needs a timed entry ticket until you confirm it on the official page.
| What to book | How far ahead | Where |
|---|---|---|
| Timed entry tickets | Released months ahead for the season, sometimes weekly | Park website, timed slots |
| Developed campground sites | Six months ahead for most sites, some rolling | Recreation.gov |
| Park lodges and cabins | Six to twelve months ahead | Park concessioner website |
| Backcountry permits | Lotteries open months ahead, some walk-up | Park permit office or Recreation.gov |
| Rental cars and flights | Three to six months ahead | Travel sites |
Verify every window on the park’s own page. Release schedules shift between seasons, and several parks adjust them mid-year when weather or staffing demands it.
While you are on those pages, check current alerts for wildfire closures, road work, and seasonal campground status, plus opening dates for high-elevation park roads. A road that has not opened yet is the fastest way to invalidate a plan.
3. Build a Realistic Day-by-Day Itinerary
Build the itinerary after the route, never before. Write each day as a travel day or a park day, and refuse to mix a six-hour drive with a full hike at the other end.
Use these trip shapes as a starting point. They assume you arrive on day one and travel home after the last listed day.
| Total trip length | Parks you can actually enjoy | Recommended shape |
|---|---|---|
| 5 days | 2 parks | One arrival day, two full park days, one travel day, one departure day |
| 7 days | 3 parks | One buffer day plus three parks with short drives between |
| 10 days | 4 to 6 parks | Two travel days between clusters, one rest day held in reserve |
| 14 days | 6 to 8 parks | A loop with a rest day every third day |
| 21 days | 9 to 11 parks | Two regions combined, one rest day per week |
A five-day template for a Utah trip:
- Day 1: fly in, drive toward Zion, sleep in Springdale or at a nearby campground
- Day 2: full day in Zion, start before 8am
- Day 3: drive to Bryce Canyon, hike the rim in the afternoon
- Day 4: full day in Bryce, then a late drive to Capitol Reef
- Day 5: morning in Capitol Reef, drive out
A ten-day template for the same region with slower pacing:
- Days 1 to 2: travel and Zion
- Days 3 to 4: Zion, second day for the narrows or a lesser-known section
- Day 5: travel day, Bryce Canyon
- Days 6 to 7: Capitol Reef and Goblin Valley
- Days 8 to 9: Canyonlands and Arches
- Day 10: travel out
A three-week template for combining two regions:
- Week 1: Rocky Mountain, Great Sand Dunes, Mesa Verde
- Travel day, then two days in the Four Corners area
- Week 2: Canyonlands, Arches, Capitol Reef, Bryce
- Days 4 to 7: Zion, then a rest day
- Week 3: Grand Canyon North and South Rims, depart
Hold one flexible day in every itinerary. If you skip it you get extra time; if a road closes or a reservation falls through, that day absorbs it. Experienced road trippers mention the same thing repeatedly: break long legs into two-to-three-hour chunks with real stops, and build some slack into the plan so spontaneity has room.
4. Estimate Driving, Lodging, and Park Costs
Build the budget in categories, then verify current prices on official pages, because entrance fees and lodge rates change and they vary a lot by region. A car camping trip in the desert and a lodge stay at a mountain park are different budgets by an order of magnitude.
- Fuel. Total the miles, divide by your real tank range, then add a cushion for detours and elevation. Remote park roads have few places to refuel and longer gaps between them than you would guess.
- Lodging or camping. Developed sites inside a park are the scarcest and often the most expensive per night. Nearby towns outside the boundary are cheaper and usually have better food and showers.
- Park fees. Most parks charge a per-vehicle or per-person entrance fee, and several sell an annual America the Beautiful pass that covers entrance fees at every national park for twelve months. Once you are entering five or more fee areas on one trip, the pass is usually the better buy. Some parks have fee-free days and free federal holidays.
- Food. Park concession stores are expensive and limited. A cooler loaded in a town before you drive in makes a measurable difference.
- Activities. Ranger programs are usually free, while scenic drives, ferry rides, and backcountry permits cost extra.
- Contingency. Hold back a meaningful slice of the budget, usually around ten percent, and do not plan to spend it.
Informal camping on surrounding national forest and Bureau of Land Management land is often free and needs no permit for a short stay, subject to local fire rules and a stay limit. It is the cheapest way to add a night between parks, but you trade showers, hookups, and a firm booking for that, and you follow Leave No Trace wherever you set up.
You can plan a multi park road trip on a tight budget by camping outside park boundaries, cooking your own food, and travelling in the shoulder season, when campsites open up and rates drop.
5. Book in the Right Order
Book in this sequence, and each step confirms the one before it. Booking a campsite for a park you cannot enter wastes both.
- Timed entry and day-use reservations first. These have the tightest windows and the least flexibility.
- Campground sites next. They gate the shape of the whole itinerary, and they are the hardest to replace when they sell out.
- Lodging inside the park third. Park lodges book out early and sell rarely.
- Backcountry and day-use permits last. Some come through a lottery, and many allow a walk-up the day before.
- Confirm the vehicle and supplies. Then re-check every confirmation for dates, times, and cancellations.
Two practical details trip people up constantly. Release times on Recreation.gov display in the park’s local time zone, not yours, so check the listing carefully before you sit down ready to book. And one person on one device often cannot move fast enough at release, which is why travelers routinely recruit a second person with a second phone.
If a reservation sells out, the workarounds are real but specific. Camp inside the park in an area covered by a camping reservation, arrive during hours when the timed entry system does not apply, book a commercial tour that carries its own entry, or enter on foot or by bike where entry is via road. Forum travelers also point out the seasonal version of the fix: in winter and shoulder season, both crowds and reservation pressure drop sharply.
6. Prepare the Vehicle, Supplies, and Backup Plan
Treat the preparation week as part of the trip. Most trips that go wrong on the road go wrong for reasons you could have caught at home.
- Vehicle. Oil, coolant, brakes, tires including the spare, battery, and wipers. Carry a spare tire, a jack, and a repair kit if you are far from a town.
- Chains and traction. Many high-elevation park roads require chains or traction devices when conditions warrant. Check the requirement for your dates and practice fitting them before the trip.
- Fuel and water. Fill up before every remote section and carry more water than you think you need. A gallon per person per day in summer desert heat is a reasonable floor, more for strenuous days.
- Navigation. Download offline maps for the whole route, and carry a paper map of the region as a backup.
- Layers. Mountain weather changes in an afternoon. A fleece, a waterproof shell, a hat, and sun protection between them cover most conditions.
- Storage and food. A cooler with a block ice, a food storage locker where bears are present, and a bear canister for backcountry routes.
- Safety kit. First aid supplies, a headlamp per person, a charged power bank, and satellite messaging in areas without cell service.
- Contacts. Emergency services, your insurance line, and someone at home who knows your route.
Write the backup plan while everything is calm. For each park, name a substitute with a similar experience and a different reservation requirement, plus a cheaper alternative night. If smoke closes a road, if a permit lottery comes back empty, or if you get a flat tire at altitude, the itinerary already has somewhere to go.
Two things most guides skip. Plan to arrive after dark and you add real risk, because park roads are narrow, wildlife moves at dusk, and there is no shoulder. If you are driving electric, map the chargers along the corridor in advance and treat any charger beyond your last one as unreachable, since park roads and mountain passes will stretch range further than you plan for.
Common Mistakes
The mistakes that break a multi park road trip are rarely exotic. They are scheduling errors, and they are fixable the moment you see them.
Overloading the route
Nine parks in eight days means you will spend the trip driving. Count travel days separately from park days and cut parks until the math works. The parks you drop are usually the ones you enjoyed least.
Underestimating driving time
Map estimates assume no photo stops, no construction, and no one lost on a single-lane tunnel road. Add twenty percent to every leg, and plan to never exceed four to six hours of driving in a day.
Booking only one stop in advance
Campsites and lodges are the bottlenecks. If one booking in the chain is missing, the whole itinerary moves. Book every night before you book anything optional.
Ignoring seasonal conditions
High passes close, snow arrives earlier than expected, and wildfire smoke is not on any forecast you checked a week ahead. Confirm road and campground status for your exact dates, and have a lower-elevation fallback.
Assuming amenities exist
There is no electricity, no water, no shower, and often no cell service at many campgrounds. Fill tanks and bottles before you enter a remote section, and download your maps before you lose signal.
Leaving no backup plan
Weather, closed roads, sold-out reservations, and flat tires all happen. One spare day and a short list of alternates per booking turn a disrupted trip into a slightly different one.
Tips worth keeping
- Start each park day before 8am. You get better light, fewer people, and calmer trails.
- Aim for weekday visits whenever the schedule allows.
- Check for seasonal fee-free days and free federal holidays when they overlap your trip.
- Carry printed confirmations, a paper map, and an offline map download.
- Keep one free evening per week unplanned so the trip has room to breathe.
Frequently Asked Questions
How many parks should I include in one road trip?
Count travel days before you count parks. A five-day trip comfortably covers two parks, a week covers three or four, ten days covers four to six, and three weeks covers ten or more. These numbers assume parks clustered within three hours of each other and at least one full day in each. Add one day per large park such as Yellowstone or Glacier, where trails and overlooks are spread out enough that a single day feels like a highlight reel.
How far apart should the parks be for a multi park road trip?
Keep consecutive parks within about three hours of driving in daylight. Anything longer turns a park day into a travel day and erodes the trip. Cluster by region rather than by fame, then order the stops so the route flows in one direction. A loop that returns you to your starting city usually costs less in rental drop fees, while an open-jaw saves hours of backtracking and is worth it when the drive savings outweigh the one-way charge.
When should I make reservations for national park campsites?
Most developed campground sites on Recreation.gov open six months ahead, so book the moment the window opens for your dates. Park lodges and cabins often fill six to twelve months out. Timed entry tickets for the busiest parks release on their own schedule, sometimes seasonally and sometimes weekly, so check the park page and note the release time and time zone. Backcountry permits run on separate lottery or walk-up cycles.
What do I do if the weather is bad during my park road trip?
Shift the schedule rather than the trip. Hold a flexible day and move the best hiking to the clearest day, keeping scenic drives and visitor centers as rainy-day fillers. Swap high-elevation parks for lower ones if temperatures or smoke make it miserable, and add a town stop with a museum or hot springs. Before you leave, note each park’s current alerts page and check it every morning of the trip.
Do I need a 4×4 vehicle to visit multiple parks?
Usually no. Most park roads, paved scenic drives, and developed campgrounds are accessible in a standard sedan or crossover, and a long multi park road trip is easier in something with a comfortable driving seat. You do need extra clearance for unpaved roads, fords, or long gravel approaches to dispersed sites. Check your vehicle’s ground clearance against the specific road before you commit to it, and never drive a forest road in a sedan after rain.
Should I plan lodging or camp between each park?
Book every night before you leave home, because the mix is what actually shapes the trip. Camping inside a park keeps you at the trailheads early and cuts driving, but sites are scarce and sell out months ahead. Towns outside the boundary offer cheaper rooms, better food, and showers at the cost of a drive each morning. Free dispersed camping on nearby national forest or Bureau of Land Management land fills the cheapest gap, subject to fire rules and stay limits.
Conclusion
Planning a multi park road trip comes down to four moves done in order: choose the region, confirm the reservation and seasonal rules on each park’s official page, build the route so no driving day runs past four to six hours, then book from the scarcest item to the most flexible. Everything else is detail.
If you do one thing before anything else, pick your cluster of parks and work out how many days each one really needs. Write that number down, count your travel days against it, and cut until the arithmetic fits 2026 travel reality rather than your optimism. A shorter trip that you finish beats a longer one you spend in a parking lot, and updating for 2026 is a fifteen-minute job once the bookings are in place.