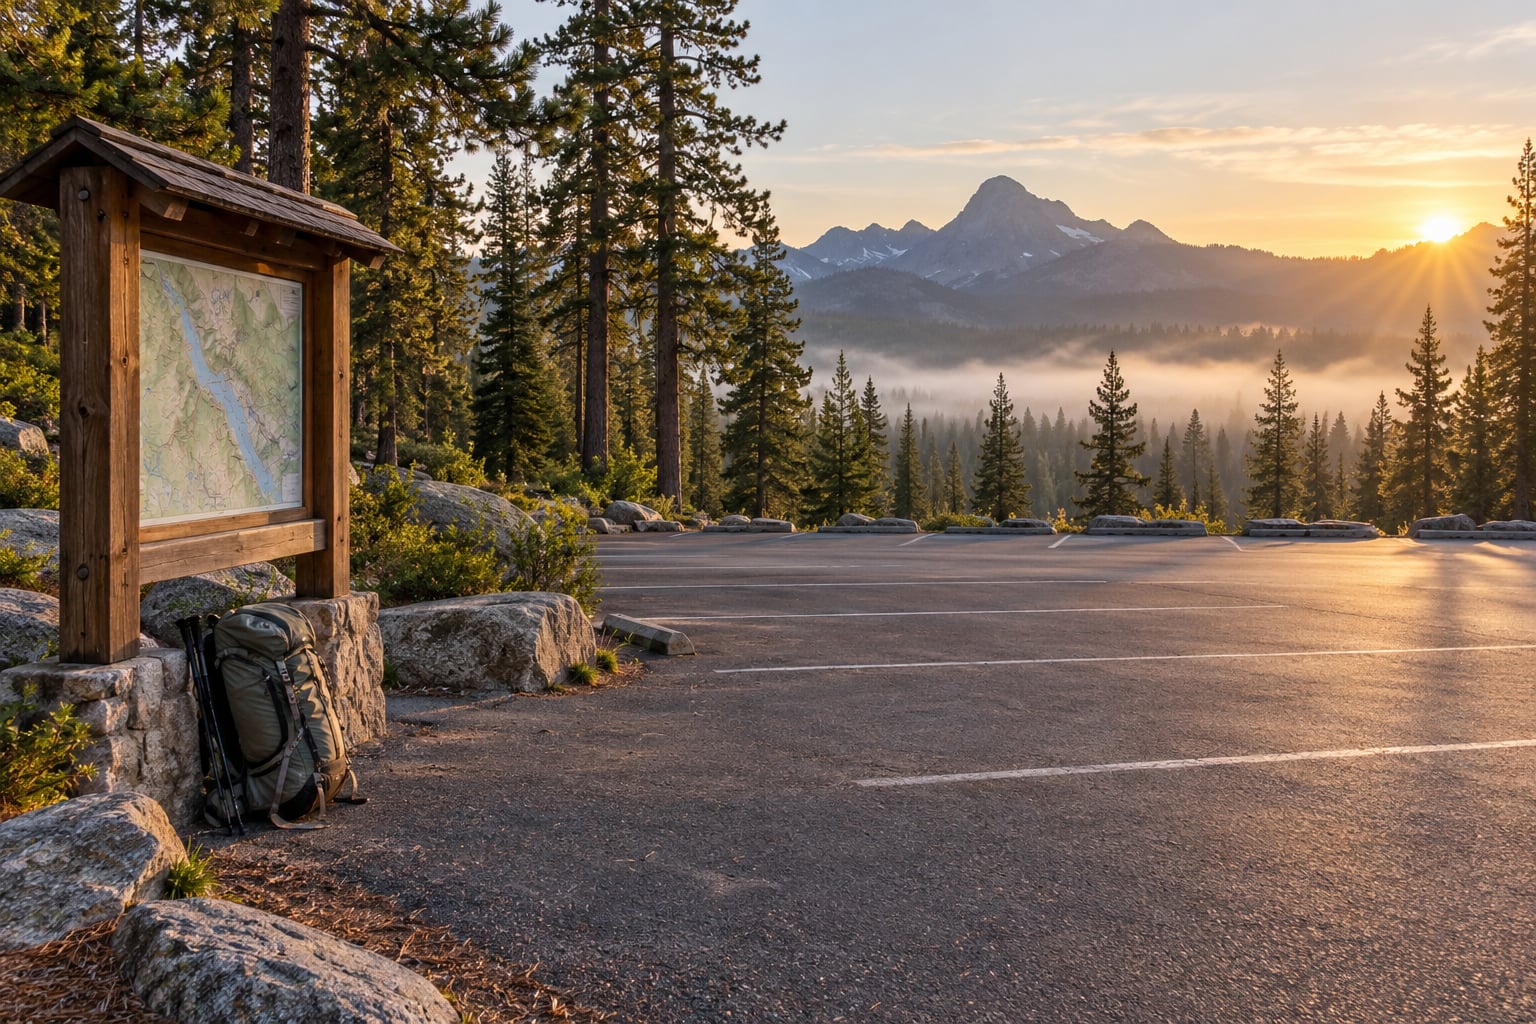
How to avoid crowds at national parks: change when, where, and how you visit — go midweek in the shoulder season, be walking in the parking lot before 7 a.m., reserve a timed-entry slot or park outside the gate and ride the free shuttle, then hike past the famous trailhead to where foot traffic thins out. Most of the congestion in a busy park is a timing problem, and timing is the one thing you control.
A few numbers explain why the defaults feel crowded. More than 300 million people visit U.S. national parks in a typical year, and at marquee parks such as Yellowstone and Acadia more than 60% of those visits happen between Memorial Day and Labor Day. Nearly everyone defaults to the same window: arrive around 10 a.m., park at the most famous viewpoint, eat lunch where the food is, and leave by 4 p.m.
Shift any one of those by a couple of hours and you land on a completely different crowd curve. The tactics below are ordered the way you would actually plan a trip: what to gather before you leave, then twelve steps you can use in sequence, then the mistakes that undo all of it.
Table of Contents
- What You Need
- Step-by-Step: How to Avoid Crowds at National Parks
- 1. Visit During the Shoulder Season
- 2. Choose Weekdays and Off-Peak Arrival Times
- 3. Check Reservations and Entrance Rules
- 4. Start With a Less Popular Entrance or Trail
- 5. Build a Backup Plan Around Conditions
- 6. Use Parking and Transportation Planning
- 7. Eat and Rest Away from the Busiest Areas
- 8. Choose a Realistic Route, Not the Busiest Checklist
- 9. Monitor Crowds Before You Leave Home
- 10. Split Up Strategically When Appropriate
- 11. Pack for a Longer Day Away from the Main Hub
- 12. Leave Early When the Crowd Is Not Worth It
- Common Mistakes
- Frequently Asked Questions
- Conclusion: Start With the Park’s Current Conditions
What You Need
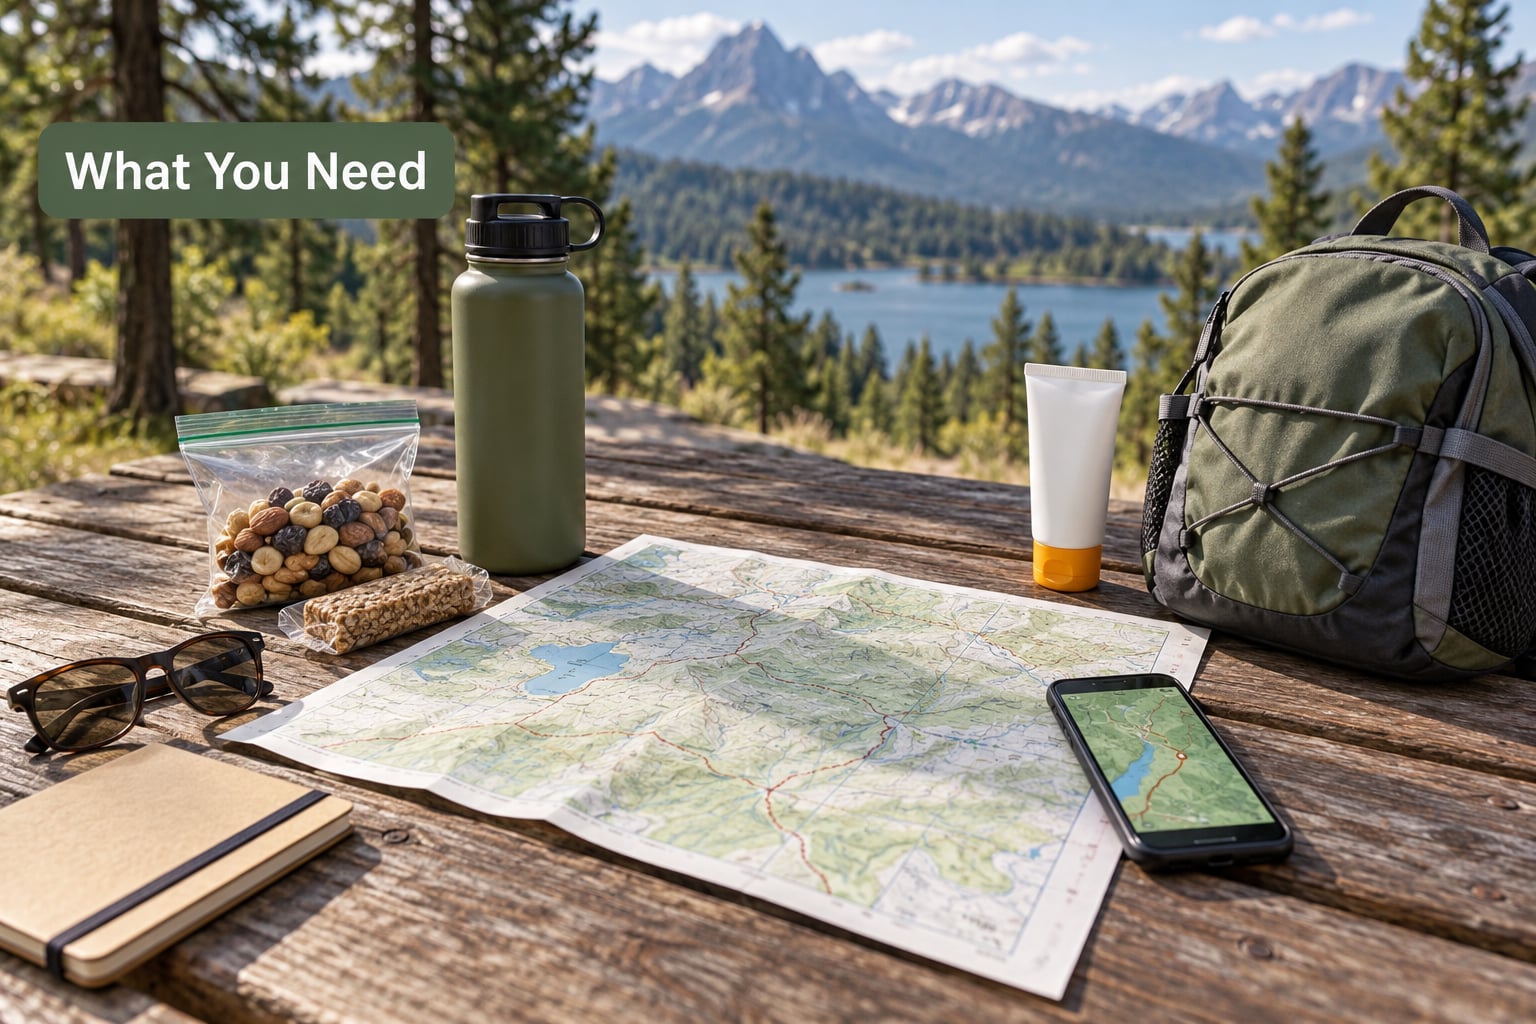
Crowd avoidance is a planning task, not an on-trail task. Everything below depends on information you collect before you drive, and most of it is free.
- The official park alerts page — road closures, fire restrictions, wildfire smoke, and facility status change often, and they change your route.
- The park’s reservation rules — timed entry, shuttle-only corridors, quota camping, and backcountry permits each have a different release schedule.
- An offline trail map — download the map before you lose signal, plus a paper topographic map for the trail segments that are not on the visitor map.
- Flexible transportation — a plan for parking outside the gate, riding the shuttle, biking, or walking in, decided in advance.
- Layers, water, and food — a longer, quieter route usually means fewer places to refill a bottle or buy a snack.
Add a headlamp if you plan to be out after dark, and note that the same information serves two different problems: fewer people in the park, and no line at the entrance. They need different fixes.
Step-by-Step: How to Avoid Crowds at National Parks
1. Visit During the Shoulder Season
Shoulder-season dates, the weeks just before Memorial Day and just after Labor Day, deliver most of the season’s scenery with a fraction of the traffic. Spring brings wildflowers and full waterfalls; early autumn brings fall color and steadier weather.
Read the caveats before you book, though. High-elevation roads can stay snow-blocked into late spring, and visitor centers, campgrounds, and restaurants often run on reduced schedules or close entirely outside summer. Check the park’s operating hours page for the exact dates you plan to be there.
2. Choose Weekdays and Off-Peak Arrival Times
Tuesday through Thursday is the cheapest crowd reduction available, and it is real: parking spaces open up, entrance queues shrink, and trail traffic drops enough that you will hear birds instead of voices.
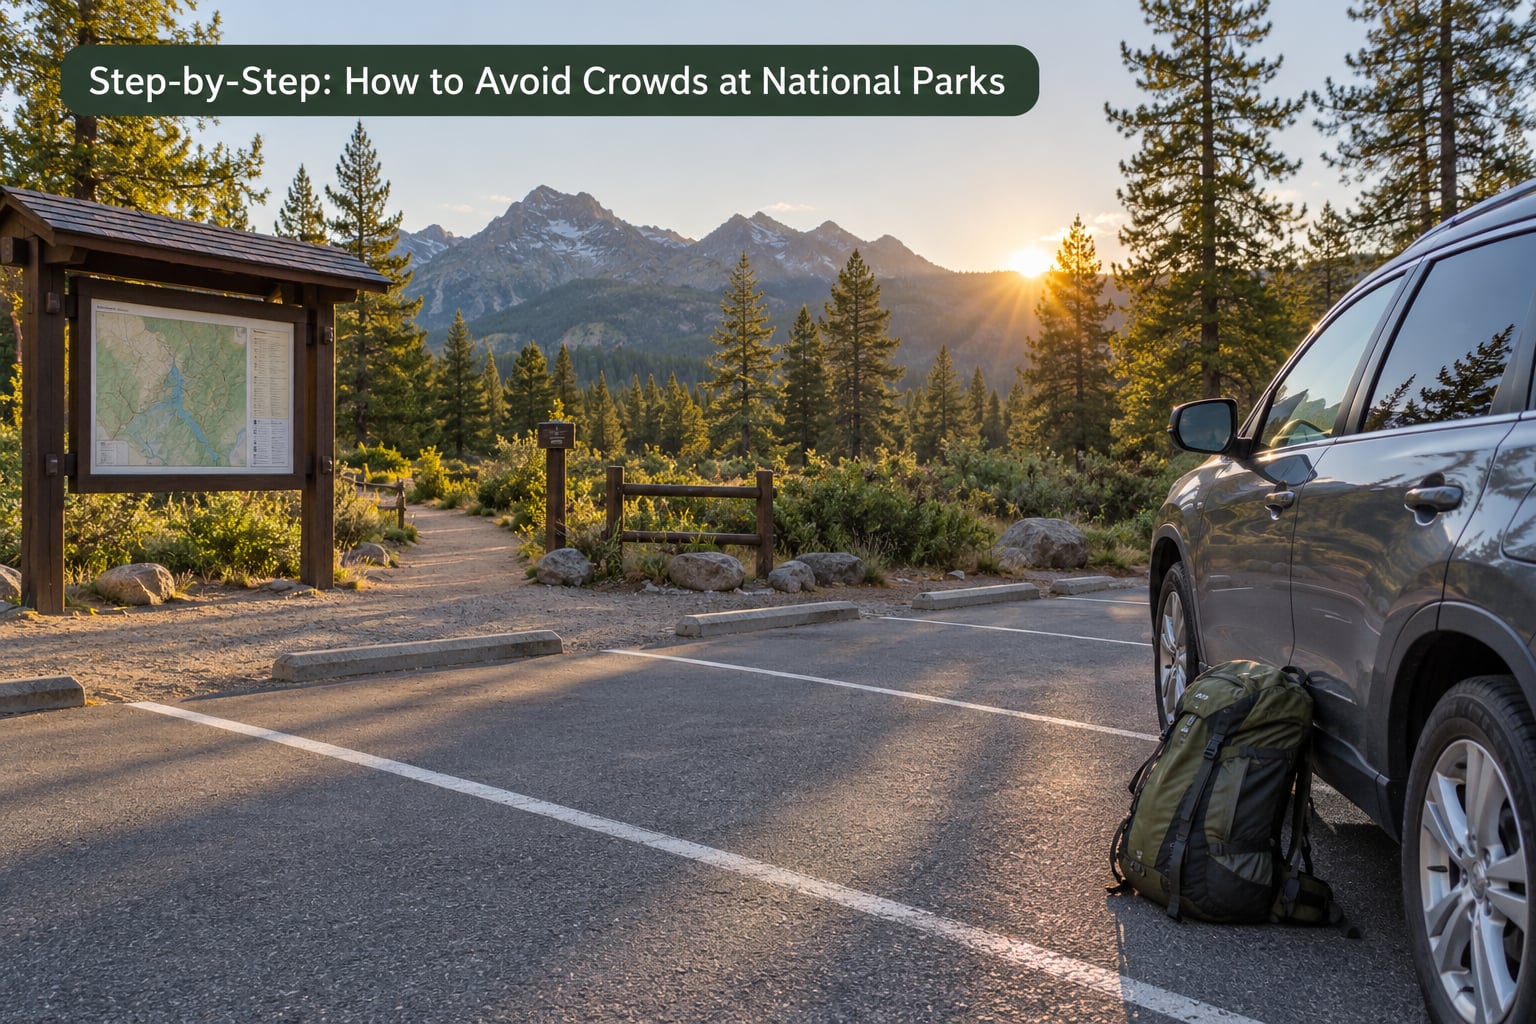
Arrive early or stay late as well. The 10 a.m. to 3 p.m. block is the peak because the temperature is nicest then, so entering before 7 a.m. or staying past 4 p.m. puts you on either side of the crush. Weekends around a holiday, and fee-free days, are the worst case — treat them as dates to avoid rather than dates to save.
3. Check Reservations and Entrance Rules
Some parks use timed-entry reservations that cap vehicles or people per slot during peak periods, and some corridors are shuttle-only with private cars barred entirely. You verify the current process on the park’s official reservations page, because the rules and the release dates change from season to season.
When every slot shows sold out, work down this list: set an alert for the next release, which often happens on a fixed cadence; check whether a different entrance, a different day, or a different hour on the same day has space; ask about standby or first-come lanes at the entrance station, which some parks operate alongside the reservation system; and confirm whether the reservation requirement applies to your route at all, since walking or cycling in through a non-reserved corridor is a separate question with its own answer. Visitors on forum threads have the most consistent advice on this one — figure out the reservation rules before you pick a campsite or a hotel, not the night before.
4. Start With a Less Popular Entrance or Trail
Every major park has more than one way in and far more trails than the famous one. Alternate entrances, longer approaches, and lesser-known trail segments spread visitors out without asking anyone to skip the highlight.
Examples worth researching: the northwest corner and high country in Yosemite rather than the valley viewpoints, backcountry trails beyond the Old Faithful area in Yellowstone, the east entrance into Zion’s canyon, and the quieter overlooks in Arches outside the Windows section. Never cross a closure, trespass on private land, or talk yourself past a safety restriction to reach a quieter spot.
5. Build a Backup Plan Around Conditions
Decide before you arrive what you will do when the preferred location is congested. A backup plan that exists only in your head is not a plan; pick one alternative trail, one alternative viewpoint, and one alternative time slot, and let them be good enough to actually deliver the day.
This is also how you handle smoke, storms, road work, or a sudden heat wave. When conditions change, a plan on paper keeps a good day from turning into a parking-lot day.
6. Use Parking and Transportation Planning
Compare the official lots with the options just outside the boundary, because many parks are built so that you never need to park inside. Gateway towns such as Springdale, Moab, Estes Park, and Yosemite’s neighboring communities offer paid lots where you park and ride the free park shuttle in, skipping both the parking battle and the entrance queue.
Before you walk a long way from a remote lot, check the heat, the distance, the surface, and whether your group can handle it — mobility needs and small children narrow the options quickly. Bikes and long walks work well on flat connectors and short trails. Dispersed camping on adjacent BLM or Forest Service land removes the parking problem entirely, but it adds permit, food-storage, and Leave No Trace rules you need to know first.
7. Eat and Rest Away from the Busiest Areas
Park dining areas and picnic tables peak at meal times, so eat early or late, or bring your own food and spread out at a legal site that does not block a trail, a view, or wildlife.
Pack a picnic and you control the timing. It also means you can eat at the quieter trail you walked to instead of walking back to the crowded hub for lunch. The same logic applies to restrooms: use them during the off-peak window, since that is one queue that gets no shorter by waiting.
8. Choose a Realistic Route, Not the Busiest Checklist
Pick two or three worthwhile experiences for the day rather than every famous overlook, campground, and attraction on the list. Trying to see everything means driving back to congested parking repeatedly and spending your day in a car.
One anchor and one or two supporting stops is usually the sweet spot. The two or three hours you save in transit become time on trail, and time on trail is where the crowds actually disappear.
9. Monitor Crowds Before You Leave Home
Use official trip-planning tools, alerts, webcams, reservation availability, and recent visitor reports in the week before you go. A webcam at the main parking lot or entrance station often shows queue length in real time.
Forum regulars treat this as the step that changes their trips. If the lot is full at 8 a.m. on your arrival day, you can shift your arrival by a day or start with the less popular entrance instead of discovering it in line.
10. Split Up Strategically When Appropriate
Groups with different energy levels can split and regroup at a named meeting point, which lets one party take the shorter accessible option while the other walks farther for quieter trail segments.
This only works if everyone carries a map, a charged phone, water, and a clear plan, and if the meeting point and time are written down before anyone starts walking. Give the less experienced hikers the easier option rather than the shorter one that ends at the crowded overlook.
11. Pack for a Longer Day Away from the Main Hub
A quieter route usually means fewer services, so carry extra water, food, sun protection, warm and cool layers, offline maps, a headlamp, and a small first-aid kit. Add a bear canister where required, and know the food-storage rule for your specific area — the 200 rule means storing food and scented items in a canister or lockers at least 200 yards from your camp.
Fill up on water at the last reliable source, not the last convenient one. Running out of water three miles from a developed area is how a quiet day turns into an emergency response.
12. Leave Early When the Crowd Is Not Worth It
A crowded overlook is not better than no overlook. If parking is circling, the trailhead is shoulder to shoulder, and you cannot see anything but people, move on and use your time somewhere you can actually experience the park.
A simple rule helps here: if you would not bring your family here, or if you spent more time waiting than walking, cut it. Plenty of park visitors never reach the marquee spot at all and list it as the best decision of their trip.
Common Mistakes
Most disappointing park days come from a handful of predictable errors, and each one has a simple fix.
Trusting crowd information from an old blog post. Timed entry, shuttle rules, and parking arrangements change often, and old advice sends you to a lot that no longer exists. Verify against the current park page before you build a day around it.
Assuming a different viewpoint solves every busy park. Distance and elevation matter, but at a park whose main feature is the draw itself, no overlook solves the traffic. For those, the honest options are a different park, a different season, or a different time of day.
Parking where you should not. Blocking fire routes, shoulder-parking on curves, and camping in closed areas get vehicles towed and cost far more time than the walk you were trying to avoid.
Ignoring reservation rules until the day before. Slots can be gone months out, and some parks release them on a fixed cadence. If the trip is booked around a reservation, confirm it first.
Overpacking the itinerary. Six stops in one day guarantees parking at six congested lots. Fewer stops means a shorter day with better odds at each one.
Treating other visitors as an obstacle. Crowds are mostly people taking the same trip you are, often on the same short time off. Letting a line slow you down costs more attention than the line itself.
Underestimating the off-season. Snow-blocked passes, closed facilities, and thin staffing turn an off-peak visit into a logistics trip. Ask what is actually open before you commit.
Frequently Asked Questions
What is the least crowded time to visit a national park?
For most major parks, midweek days between Labor Day and Memorial Day, plus the weeks on either side of that summer window, are the quietest periods. Within a day, arriving before 7 a.m. or staying past 4 p.m. avoids the 10 a.m. to 3 p.m. peak. Weekends, holiday weekends, and fee-free days are reliably the worst case, so check the park alerts before you commit to dates.
Do all national parks require reservations or timed entry?
No. Only certain parks use timed-entry reservations, and only during defined seasons and hours, while a few corridors are shuttle-only with private vehicles barred year round. Other parks require advance reservations only for camping or backcountry permits. Rules and release dates change, so check the reservations page on the official park site for the specific park and dates you are planning.
How can I avoid crowded parking lots at national parks?
Arrive before 7 a.m. on a weekday, and know your fallback before you drive in. Many gateway communities sell or rent parking outside the park boundary so you can ride the free shuttle past the entrance station, which solves the lot and the queue at the same time. If you arrive and the lot is full, move to the less popular entrance or trailhead rather than circling, and check webcams before you change your route.
Are lesser-known national park trails safe for beginners?
Most are, with conditions attached. Trail difficulty, exposure, water availability, and access vary, and a quieter trail may sit at higher elevation with more weather exposure than the famous one. Read the trail description, check recent conditions and fire restrictions, and confirm that your navigation, water, and layers match the route. A day hike that reads as easy on paper is not easy after a storm.
What should I do if a popular trail is crowded when I arrive?
Give it ten minutes and decide. Walk in, get past the trailhead bottleneck, and most of the walking crowds fall away behind you. If it is still shoulder to shoulder, switch to the quieter alternative on your list, use a less popular entrance, or come back after 4 p.m. Crowds thin at the viewpoints, not on the trails, so a longer approach usually beats the same short walk later in the day.
Conclusion: Start With the Park’s Current Conditions
If you do one thing before anything else, open the park’s alerts and reservations pages and read them for your exact dates. That tells you whether timed entry applies, which entrance or shuttle rules are in force, and what is open.
Then pick a midweek shoulder-season date, be walking in before 7 a.m., leave one backup trail on the list, and be ready to skip the overcrowded headline spot. That is how to avoid crowds at national parks without giving up the trip you came for.