
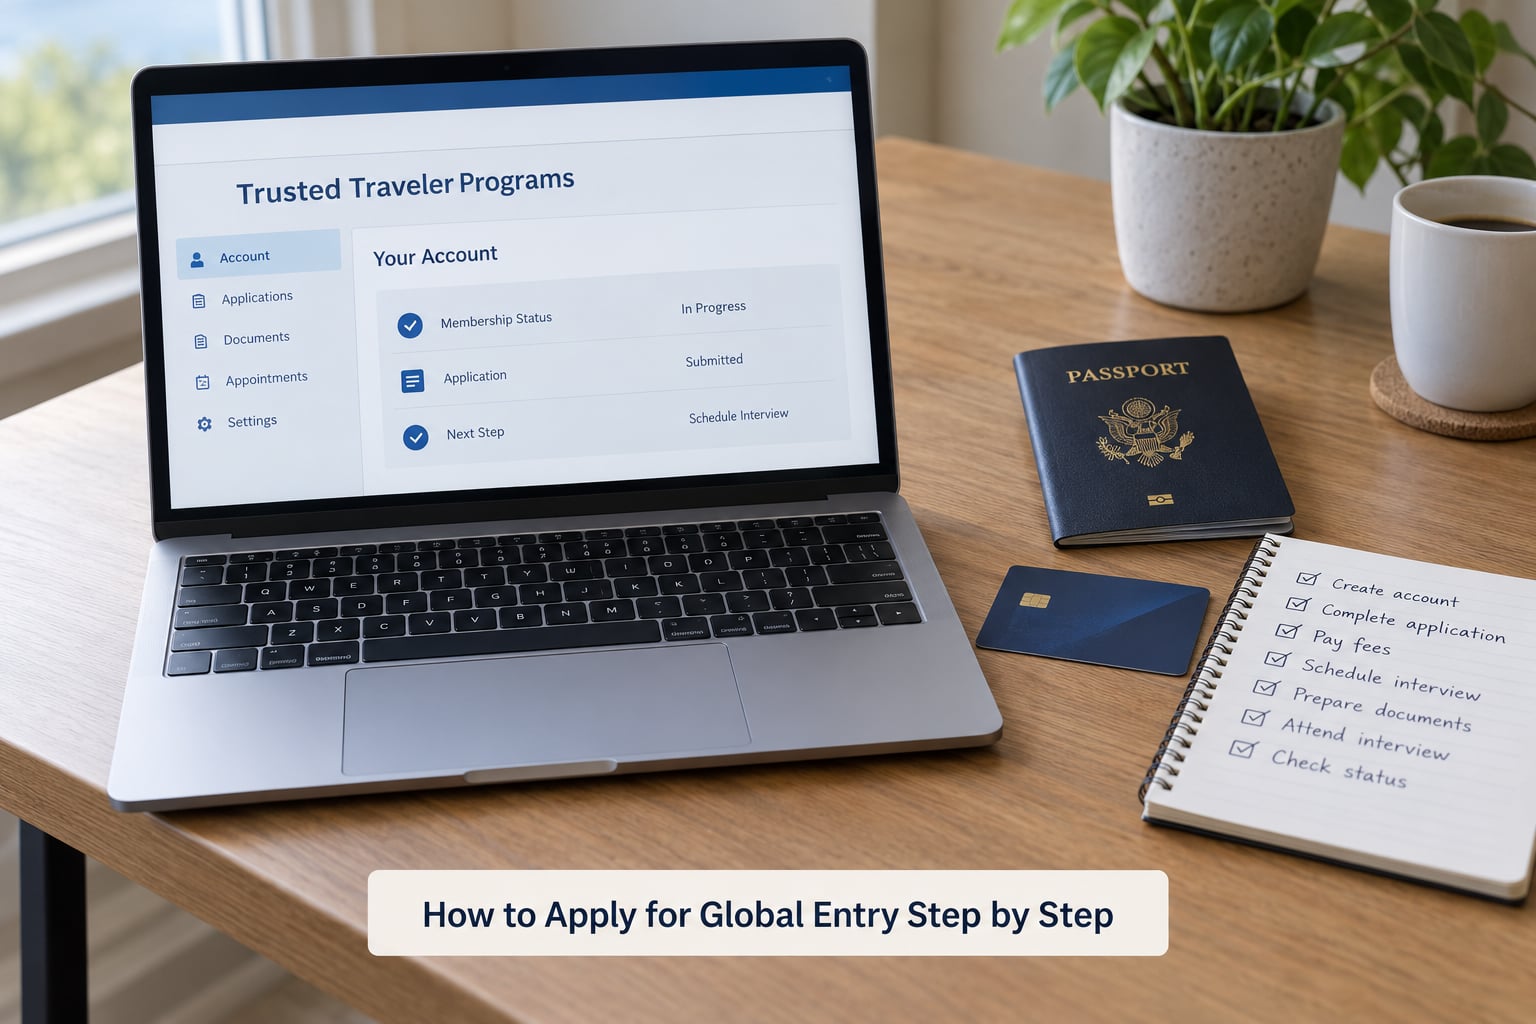
How to apply for Global Entry? Almost all of it happens on the official Trusted Traveler Programs portal at ttp.dhs.gov, and the only part you cannot do online is a short interview for fingerprints and a photo. Create an account, fill in the application, pay the nonrefundable five-year fee, wait for conditional approval, then book an enrollment center appointment or interview on arrival.
That last piece is where people get stuck, and it has almost nothing to do with the paperwork. Appointment slots are scarce, so most applicants do the online part in one sitting and then spend weeks waiting for a date to open up. Get the online part right the first time and you can be ready to book the moment your approval lands.
The fee is set by U.S. Customs and Border Protection and it does change, so check the current amount on the fees page at ttp.dhs.gov before you pay rather than trusting a number from an old article. The membership itself runs five years, and it includes TSA PreCheck benefits for domestic flights, so most people who were going to pay for both programs end up paying for one.
Here is the whole process in order.
Table of Contents
What You Need
Global Entry is open to U.S. citizens, lawful permanent residents, and certain Canadian citizens and permanent residents living in the U.S. or Canada. If none of those describe you, the same portal also handles other Trusted Traveler Programs, and you may qualify for one of those instead.
Here is what to have on hand before you open the application:
- A valid passport. An unexpired U.S. passport is the document that gets you into the fast lane at the airport. If you only have a green card, that works for the application, but a passport is what you will scan at the kiosk.
- Your passport number, issue date and expiration date. These have to match your passport exactly. A single wrong digit sends the application back.
- Your address history. Every address you have lived at going back further than you think you need to, including street address, city, state and ZIP.
- Travel document details for other citizenships. List any other passports or national IDs you hold.
- An email address you actually check. Approval notices and appointment reminders come from DHS and CBP, not from a marketing list.
- A payment method. A credit or debit card works. If you plan to have the fee reimbursed by a travel card, check that card’s terms first.
- A phone. Some verification steps send a one-time code that you type in during the session.
One more thing worth sorting out before you start: which program you actually want. All four of the government Trusted Traveler Programs use the same portal, and picking the wrong one means starting again.
How to Apply for Global Entry Step by Step
Step 1: Confirm That You Are Eligible
Eligibility is narrow and simple. U.S. citizens and lawful permanent residents qualify for Global Entry. Canadian citizens and permanent residents who live in the U.S. or Canada also qualify. Everyone else should read the Trusted Traveler Programs eligibility tool on cbp.gov before filling anything out, because approved foreign nationals usually qualify for NEXUS or SENTRI instead.
| Program | Who it is for | What it speeds up | Where it works |
|---|---|---|---|
| Global Entry | U.S. citizens, lawful permanent residents, eligible Canadians | Arrival processing and a TSA PreCheck benefit | Over 75 U.S. airports, most land border crossings, preclearance |
| TSA PreCheck | U.S. citizens, lawful permanent residents, eligible Canadians | Security screening before domestic flights | Airport security lanes only |
| NEXUS | U.S. and Canadian citizens and permanent residents | Arrivals from Canada, plus Global Entry benefits | Land borders, airports in both countries |
| SENTRI | U.S. citizens, lawful permanent residents, eligible Canadians | Arrival processing and a TSA PreCheck benefit | Subset of Global Entry locations |
If you cross the U.S.-Canada border regularly, NEXUS is usually the better pick. If you mostly fly back into the country from international trips, Global Entry is the one you want, and it already covers the land crossings too.
Step 2: Gather Your Passport and Personal Information
The application is long only because it asks for a full address and employment history. The identity section itself is short: your full legal name exactly as printed, your date of birth, your citizenship, and your passport or green card number.
Type those fields from the passport rather than from memory, and read the number back once before you save the page. A mismatch between your application and your passport is the single most common reason an application stalls for weeks.
Step 3: Create or Sign In to Your TTP Account
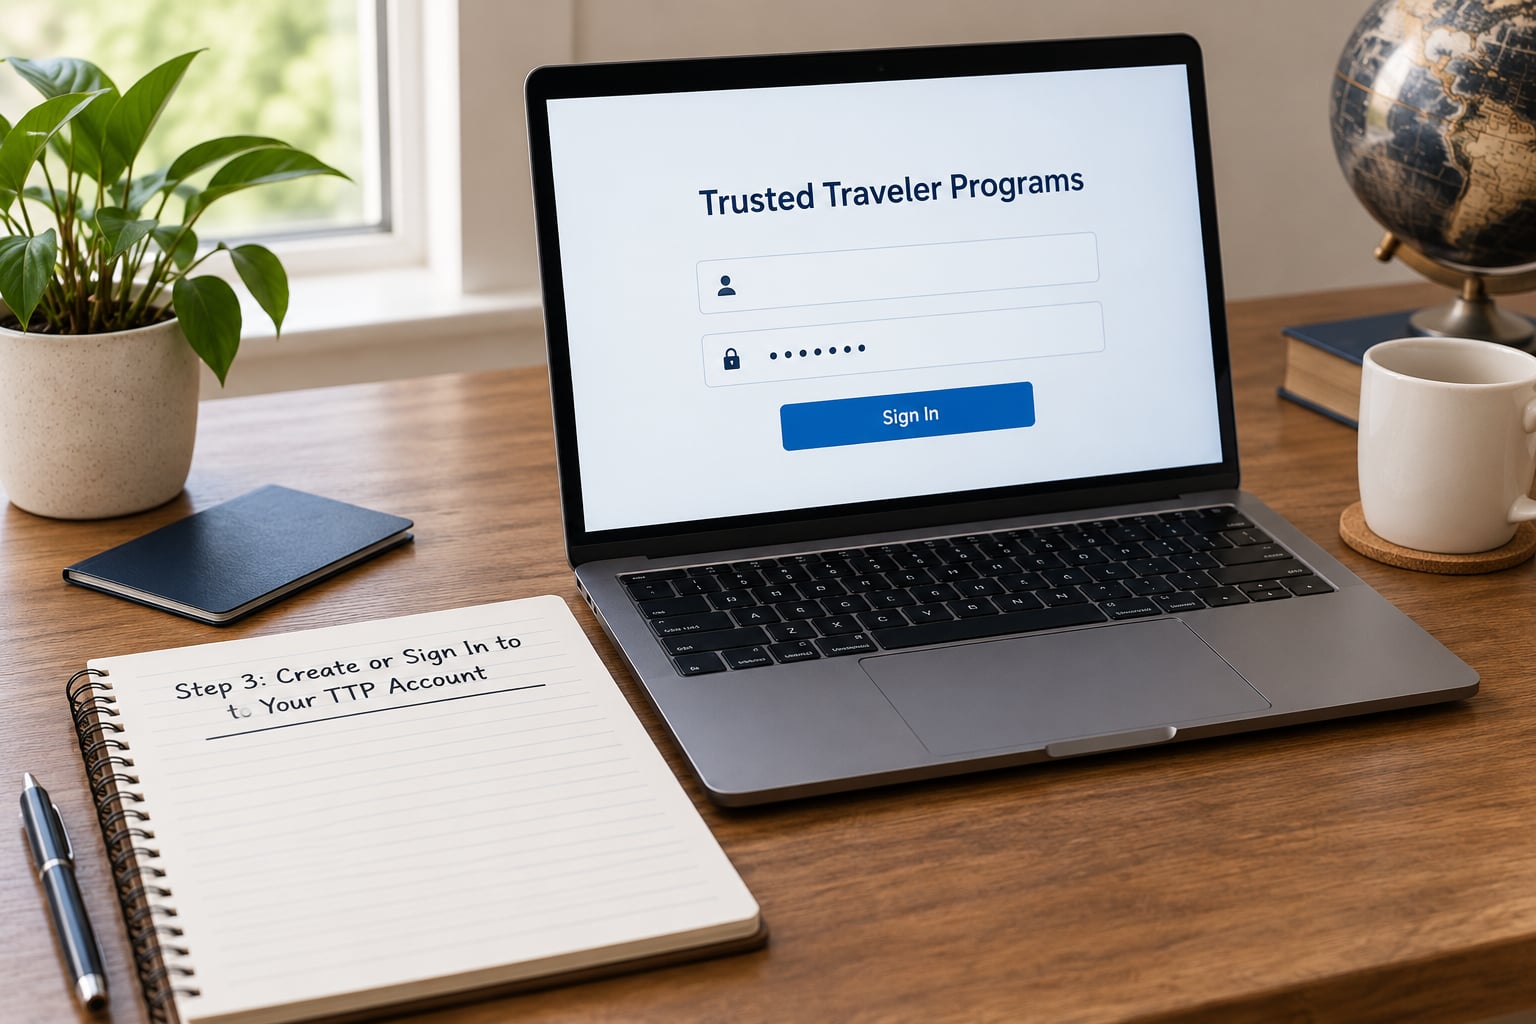
You apply through the Trusted Traveler Programs portal at ttp.dhs.gov, and the account system now runs on login.gov. If you have never used a Trusted Traveler Program, you create a login.gov account first, then link your Trusted Traveler Program record to it. People with an older TTP account get an email asking them to link that existing record to login.gov.
Three things trip people up here:
- The email address on your login.gov account should match the one you use everywhere else, because interview confirmations and appointment reminders route through it.
- Use a password you can actually type on a phone keyboard at an airport counter.
- Keep the same login for everything. Status checks, rescheduling and renewal all happen in this one account.
If you get stuck at the linking step, the CBP help article on Trusted Traveler Programs account creation walks through it screen by screen, and it is the same page CBP surfaces for this question.
Step 4: Complete and Submit the Global Entry Application
Inside your TTP account, choose Global Entry as the program and start a new application. The form breaks into a few blocks: identity, addresses, employment, travel documents, and a review screen.
The address section asks for every address you have lived at, including where you lived before college. You will also list your employer and your previous employment history for the past five years. Answer based on where you actually live now, not where your travel documents are filed.
Answer the questions exactly as they apply to you. The background check runs on the answers you give, and any gap between what you write and what an officer sees later can stop your approval. Keep it truthful and keep it brief.
Before you submit, read the review screen line by line. If you have children under 18, this is also the point where you add them to your application as minors, which is free when they are enrolled with a parent or guardian.
Step 5: Pay the Application Fee
The fee appears as the final step after you submit the application, right there in the portal. It is nonrefundable, it covers a five-year membership, and CBP changes it periodically, so the amount you see at checkout is the amount you should treat as current.
Look for the fee on the Trusted Traveler Programs fees page if you want to know what to expect before you get to the payment screen. You will need a card number, an expiration date and a billing ZIP code, and nothing else.
Many travelers pay with a card that reimburses the fee as a travel benefit. If that is your plan, check the terms before you apply, because some require you to use that card to pay, and most require a receipt rather than a screenshot of the portal.
Step 6: Wait for Review and Check Your Status
After payment, CBP runs a background check. Applicants often see conditional approval within a few days, sometimes longer, and the notice arrives by email with a letter you should download, because that letter is what you bring to the interview.
Log in to your TTP account to see where you stand. If something is wrong, CBP usually emails you directly to fix it rather than rejecting outright, so watch that inbox while you wait.
Once you are conditionally approved, book an interview at an enrollment center through the same portal. If no slots show up, there are three things that work. Check less busy enrollment centers, which are usually not the big hub airports. Book midweek or mid-morning slots and check again often, since cancellations open up fast. Or plan around Enrollment on Arrival, where CBP will interview you after you clear customs on an international arrival. That last option works best if you travel within 30 days of applying.
One caution from people who have done it: a walk-up or conditional interview at a center that was not expecting you can leave your record in a strange state. If you cannot get an appointment, Enrollment on Arrival is the cleaner path.
Common Mistakes
Almost every delay I found in real applicant timelines traces back to one of these six things.
Mismatched passport details
A transposed digit in the passport number, a wrong issue date, or a name in the wrong order sends the application back for correction and adds weeks. Type from the passport, then read it back once before saving.
Using the wrong website
Only ttp.dhs.gov is the real application site, and CBP collects the fee directly. Search results are full of lookalike domains and third-party services that quote well above the official fee and then ask you to hand over your passport details. If a site is not ttp.dhs.gov, close it.
Skipping prior addresses
The form asks for your residential history and your employment history separately. Leaving out the address you had between jobs is the most common reason an application goes into review limbo. Fill in every line; nothing is too old to matter.
Paying through a third-party link
Pay inside your TTP account, on the screen that follows submission. Do not pay from an email link or a service that offered to handle the application for you.
Treating enrollment like a renewal
Paying the fee and showing up does not enroll you. The interview is what completes it, because that is where CBP takes your fingerprints and photo and issues your Known Traveler Number. People who skip the interview sometimes find out months later that they were never approved.
Booking the interview before the approval letter arrives
You cannot schedule until you are conditionally approved, and you need that letter for the interview itself. Download it and save it to your phone before you go.
Frequently Asked Questions
Is the Global Entry interview hard to pass?
No. Applicants describe it as one of the easiest appointments they have ever booked. The officer verifies your identity, confirms your address, and asks about your travel history. Most people are done in about five minutes, and the whole visit including the wait is usually under twenty. The real requirement is that your answers match the application you submitted.
How long does Global Entry approval and the card take?
Most applicants report conditional approval within a few days of paying, though some wait longer while the background check runs. After your interview, CBP issues your Known Traveler Number and mails a membership card, which commonly arrives within a couple of weeks. That number arrives faster than the card, and you do not need the physical card to use the kiosks, though having it speeds things up.
Can I apply for Global Entry for my child?
Yes. Children under 18 can be added to a parent or guardian application at no charge, and the fastest way is to enroll them as part of your application before you submit it. Every traveler still needs their own membership and their own Known Traveler Number, so a child cannot ride through the Global Entry kiosk on a parent’s card. Book appointments for the whole family in one session if you can.
How much does Global Entry cost?
CBP sets the fee and adjusts it periodically, so the amount on the official fees page at ttp.dhs.gov is the one to trust. The membership is valid for five years, and it includes TSA PreCheck benefits, which is why most frequent travelers treat it as the better of the two programs. Several travel credit cards reimburse the fee when you pay with that card.
Do I need to dress up for the Global Entry interview?
You do not. Enrollment center interviews are informal government appointments, usually in a hallway or office at the airport. Wear whatever you would wear to fly. Arrive about fifteen minutes early with your conditional approval letter, your passport, and one other form of identification, and know your mailing address by heart because it will be one of the questions.
What is Enrollment on Arrival and how do I use it?
Enrollment on Arrival lets CBP interview you at participating airports after you clear customs on an international arrival, rather than making an appointment in advance. It is the most reliable workaround when enrollment center slots are empty. Bring your passport and conditional approval letter, ask the Global Entry officer in the arrivals hall, and allow extra time on your next trip since the interview happens after immigration.
Start tonight. Open ttp.dhs.gov, create the login.gov account, add any children under 18, and submit the application with your passport details typed straight from the document. Once the conditional approval email arrives, download the letter, pick an enrollment center that is not the busiest airport, and book the first midweek slot you can find. If nothing opens up, hold a trip within 30 days and interview on arrival instead.