Booking a national park campsite comes down to one system and one moment in time: most National Park Service campgrounds release inventory on a rolling window through Recreation.gov, and the good sites at busy parks can disappear in seconds. The good news is the process is the same everywhere, once you know which kind of campground you are dealing with, when your dates open, and what to have finished beforehand.
Learning how to reserve a national park campsite takes about ten minutes of setup and about four minutes of actual clicking on release day. This guide walks through the whole thing, from checking which reservation system your park uses to verifying the confirmation before you load the car.
Last verified October 2026. Reservation rules change by park and by season, so confirm your specific park on its nps.gov camping page and on Recreation.gov before you rely on anything below. This guide is not affiliated with the National Park Service or Recreation.gov.
Table of Contents
- What You Need Before You Book
- How to Reserve a National Park Campsite, Step by Step
- Common Mistakes That Cost People Their Campsite
- Frequently Asked Questions
- How far in advance should I reserve a national park campsite?
- Can I reserve a national park campsite without paying immediately?
- What should I do if the park website shows no available sites?
- Can I change the dates on an existing campsite reservation?
- Are walk-up national park campsites guaranteed to be available?
- Start With Your Park’s Camping Page
What You Need Before You Book
Nothing on this list is complicated, and every item exists because it has caused someone to lose a site at the exact moment it was available.
- The park’s official camping page. This tells you whether the campground is reservation-only, first-come, first-served, or a mix of both, and it names the booking system.
- A Recreation.gov account with your name and contact details matching the ID you will show at the gate. Mismatched names are the most common reason a check-in gets awkward.
- A saved payment method. Entering card details during a release scramble is how people lose sites they could otherwise have booked.
- Exact dates plus a backup range. If you can shift by a night or two in either direction, your odds improve dramatically.
- Entrance pass and permit knowledge. Your campsite reservation is not your park entry. Some parks also require a separate timed entry permit for the days you are there.
- A place to receive confirmation messages. A confirmation number and a PDF you can read offline, because cell service inside many parks is a rumour rather than a service.
How to Reserve a National Park Campsite, Step by Step
Step 1: Choose the Park and Check the Reservation System
Every park sorts its camping into one of three systems, and knowing which one you are in saves you from chasing a booking page that will never have your dates.
Reservation-only campgrounds release everything online ahead of arrival, sometimes months ahead. First-come, first-served campgrounds hold inventory that you claim in person, often by lining up before sunrise. Primitive or backcountry sites at places like Big Bend are handled in person at a ranger station or by a specific local rule, not through a normal online cart.
How to tell: the park’s camping page will say so in plain language. If it says “reservation only,” you are in the first group. If you are unsure, call the park before you spend three weeks refreshing a page that was never going to open.
Step 2: Find an Available Campsite
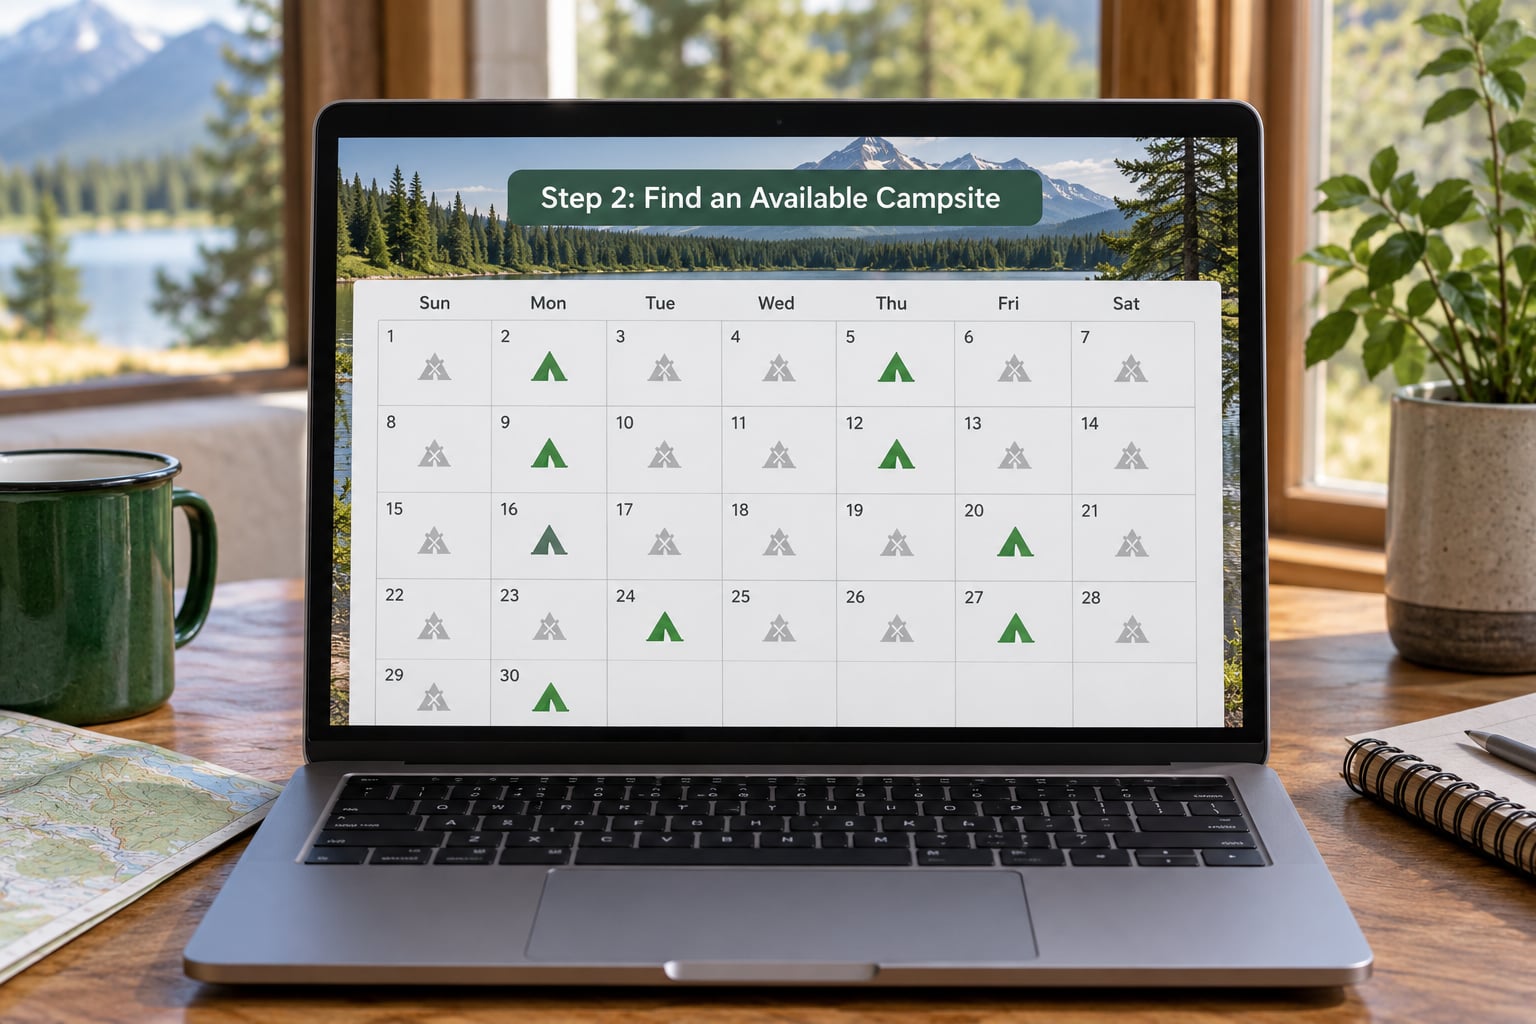
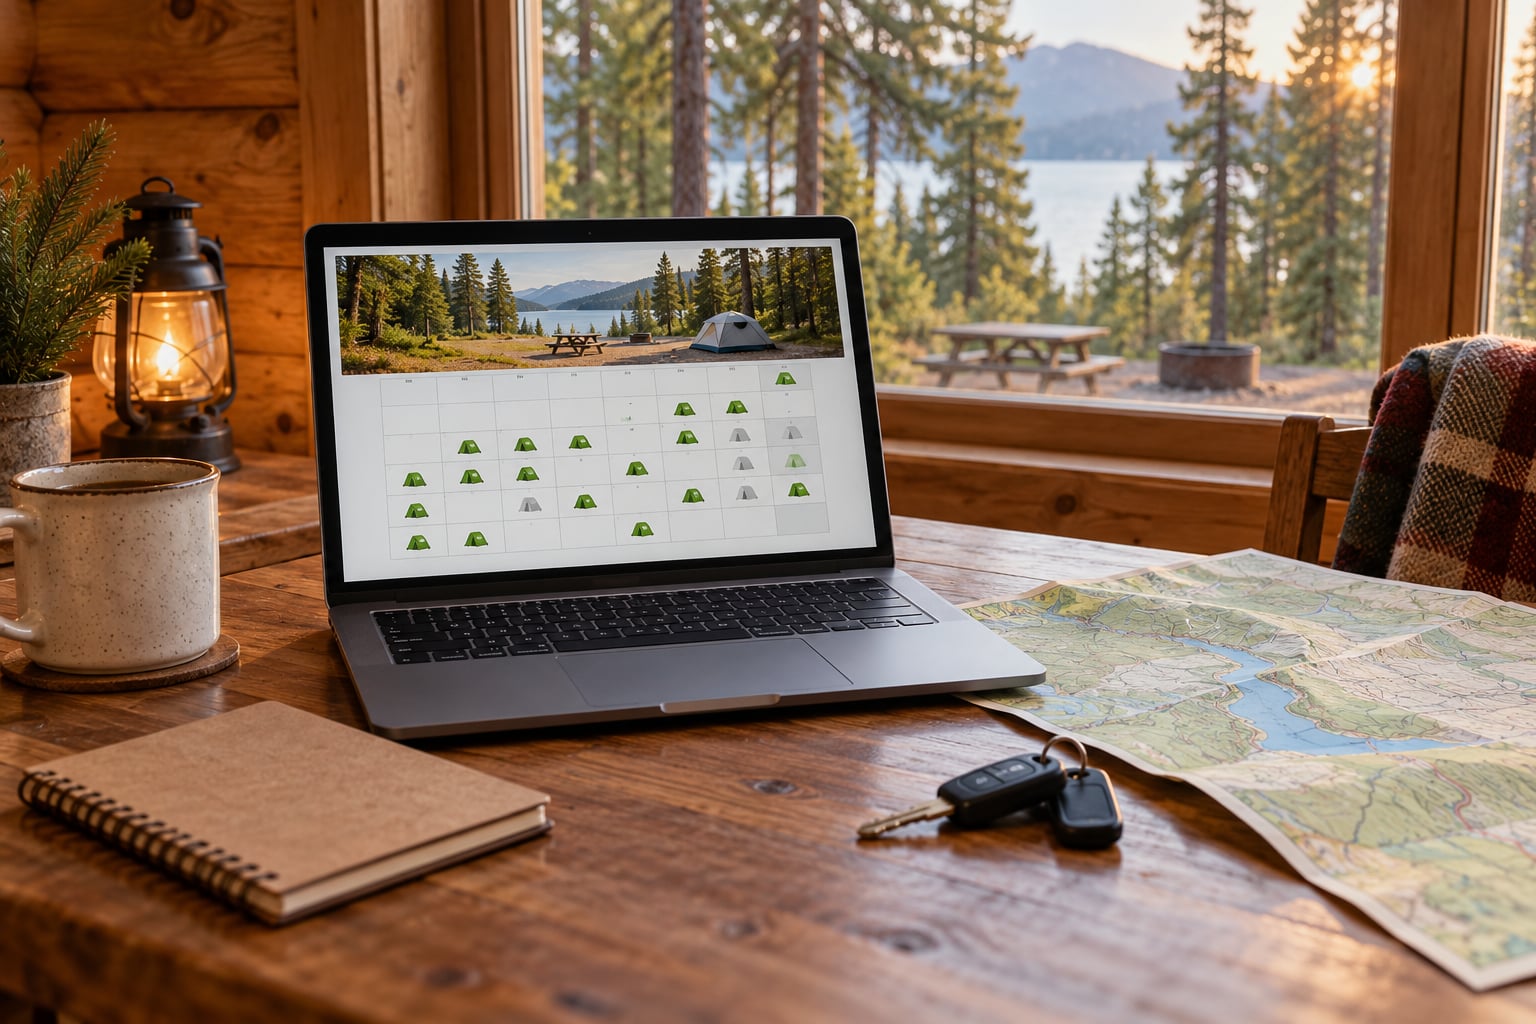
Open the campground page, enter your arrival and departure dates, and read the calendar as what it is: a record of what is currently bookable, not a promise about your travel date.
On most booking systems a night shows as available, unavailable, or reserved. A date you plan to visit six months from now will often look open simply because its booking window has not opened yet. That is the single most common reason beginners think a sold-out campground has space.
You can tell it worked if your dates appear in the cart summary at the top of the page with a total and a time limit. Filters for site type, vehicle length, accessibility, and group size are worth using rather than scrolling through every site by hand.
Step 3: Compare Sites Before Booking
Not all sites are equal, and the difference matters more at a national park than at a private campground.
Check the maximum vehicle length and width listed for the site. A 30-foot trailer will not fit a site rated for 25 feet, and if you book it anyway you will be re-assigning sites at the gate in front of other campers. Then look at where the site sits: near a restroom or a long walk from one, on a slope or on flat ground, in the open or under shade, and how far you are from a road that carries noise at night.
Quiet hours and generator hours are posted per campground, not per site. RV sites with hookups are a separate category entirely, and so are walk-in tent sites, group sites, and sites with electric vehicle charging, which remain rare and book out earliest of all.
Step 4: Enter Your Reservation Details
Accuracy here prevents nearly every check-in problem, so slow down for these fields.
Confirm the arrival and departure dates one more time, because a day-one mistake is the most expensive and most common one. Enter the number of adults, children, and vehicles exactly as they will be on arrival. Vehicles are frequently capped by site type, and adding an extra car to a booked site is a chargeable change, not a free favour.
Read the fee breakdown and the cancellation terms before you submit anything. Take note of the cancellation deadline, because that timestamp governs what happens if your plans change.
Step 5: Pay and Save the Confirmation
Once a site is in your cart it is held for a short countdown timer, and that clock is short during busy releases. Submit payment straight away rather than exploring the rest of the campground.
Pay through the official system only. Third-party “guaranteed site” resellers and prepaid reservation services are a liability: they cannot hold real inventory, and if a booking looks too good during peak season, it usually is not real.
You will know it worked when a confirmation number appears on screen and an email lands with the site name, dates, campground, and a cancellation link. Save that email as a PDF on your phone. If you only do one thing after booking, do this one.
Step 6: Verify the Reservation Before You Leave
Pull your confirmation out a week before departure and read it against your actual plan, because a reservation that does not match your trip is far cheaper to fix at home than at the gate.
Check the arrival date, the number of nights, the site type, and the vehicle count. Many systems let you correct contact details and sometimes add a note for the campground host. Dates are the change most systems restrict, and they usually restrict it hard.
Separately, handle your park entry. A timed entry permit or entrance quota is a distinct system with its own release date, and having a campsite does not automatically satisfy it. Check whether your arrival day needs one before you drive out.
If the record does not match what you paid for, contact the park or the reservation system directly with your confirmation number in hand. That number is the fastest way to get a straight answer.
Step 7: Plan for Changes or a Sold-Out Campground
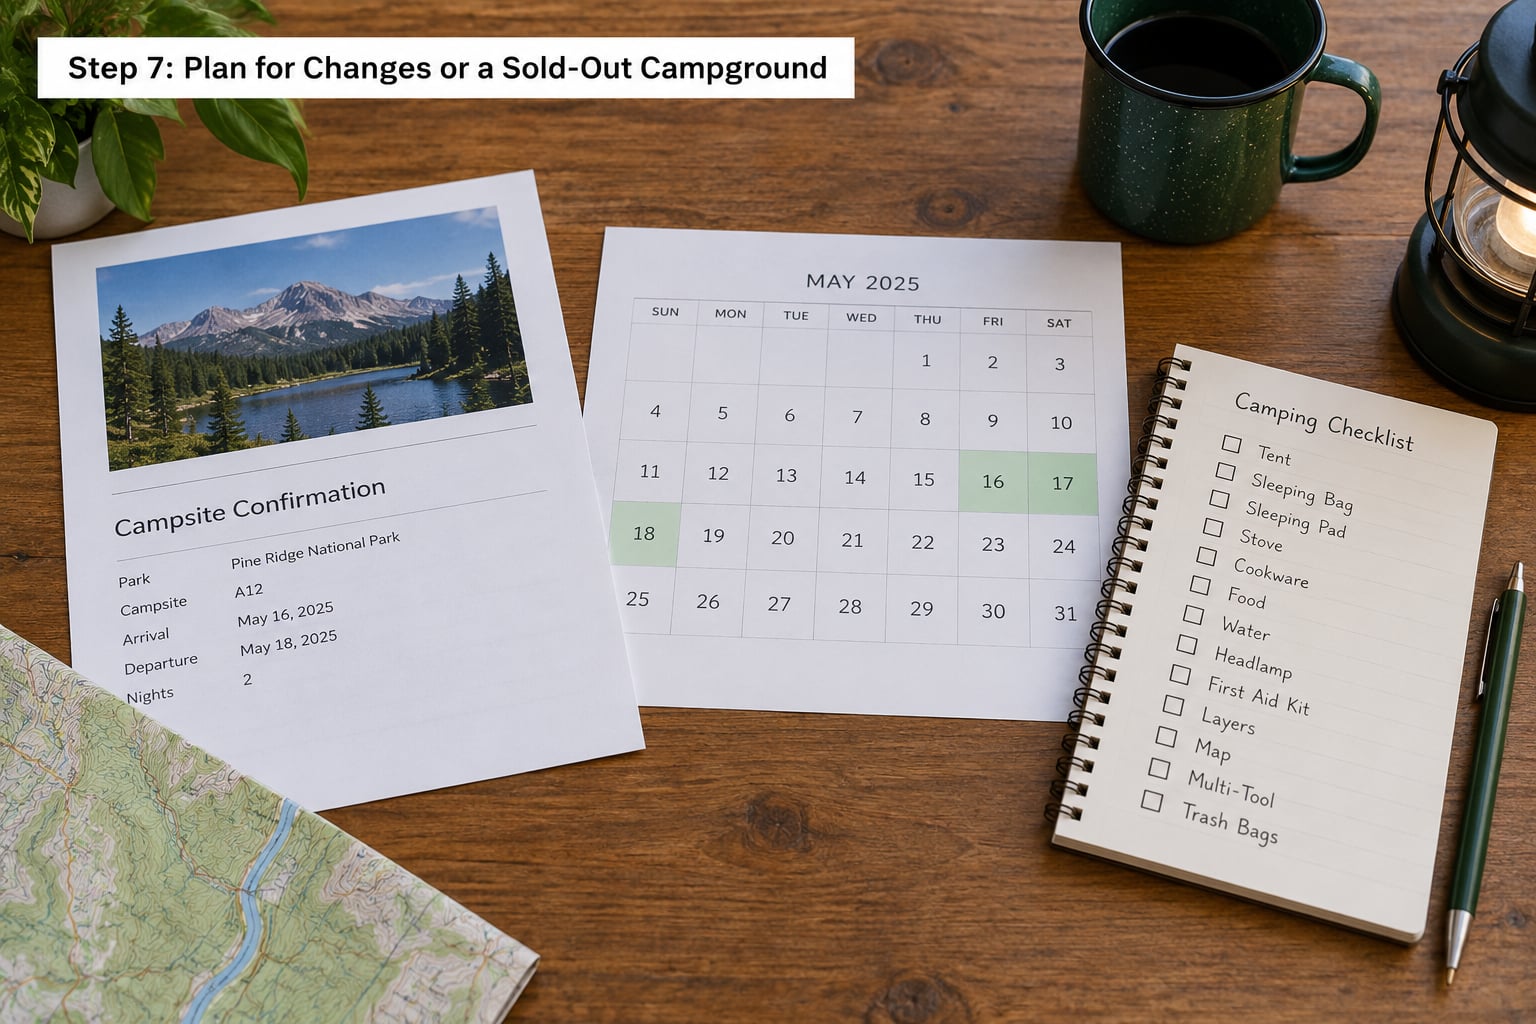
Cancellation rules decide how much risk you are actually carrying, so find the deadline before you book rather than after you need it.
Set an availability alert on the campground page if you can, and check it on a regular schedule rather than constantly. Cancellations do appear, and patience beats a missed booking window.
When the official campground is gone, work outward. Check the park’s other campgrounds for the same dates, then nearby national forest or BLM campgrounds and state parks, which use their own systems and often have different booking windows. Reserve America covers state parks in many regions.
One strategy experienced campers use is to hold a refundable private campground near the park as insurance, then cancel it if you land the official site. Costs vary widely by location and season, so check the current rate before you commit. And if you hold two reservations, track both carefully so you do not no-show one and eat the penalty.
Common Mistakes That Cost People Their Campsite
These six account for most failed bookings, and each one has a simple fix you can apply before your next trip.
- Booking the wrong date. Check arrival and departure twice, and remember that a two-night stay books as two separate nights, not one continuous block.
- Assuming every site is reservable online. Walk-up and in-person primitive inventory never appears in the online calendar, no matter how long you refresh.
- Overlooking vehicle limits. Filter by maximum length and width before you pick a site, not after.
- Ignoring the cancellation deadline. If you might cancel, read the policy first. Deadlines are often shorter than people expect.
- Losing the confirmation. Save the number and a PDF offline before you close the tab.
- Treating the campsite as park entry. Entrance fees, annual passes, and timed entry permits are separate requirements with separate rules.
Campsite terms worth knowing
Search results around this topic are full of jargon, and a few terms explain most of it. FF means first-come, first-served, where you claim an unreserved site yourself. Boondocking means camping outside a developed campground, either dispersed in the backcountry or at a designated parking area, and the rules and legality vary by land manager. Primitive site means a site with little or no infrastructure, sometimes without a fire ring or a vault toilet. The 10-year rule is the long-standing limit on how long you may camp at one designated site, and the 200 rule is the common shorthand for staying within about a day’s walk of your vehicle. Rules vary by park and land manager, so check yours before you rely on either.
Frequently Asked Questions
How far in advance should I reserve a national park campsite?
Book as soon as your dates enter the booking window, which is commonly about six months ahead for most parks, though individual parks run longer or staggered windows. For peak summer weekends at heavily booked parks, treat the release moment like concert tickets: be logged in, payment saved, and on the page minutes before it opens.
Can I reserve a national park campsite without paying immediately?
Usually not. Most online reservations add a site to a cart with a short hold timer and require payment to confirm it, so anything unpaid is released back to other visitors. A few parks take a deposit rather than the full amount, and primitive sites are sometimes claimed in person without any payment system at all.
What should I do if the park website shows no available sites?
First, confirm whether the dates are simply outside their booking window, because a future date can look open while nothing is actually released. If the window is open and it still shows nothing, set an availability alert, widen your dates by a night or two, check the park’s other campgrounds, and look at nearby national forest, BLM, or state park sites on their separate systems.
Can I change the dates on an existing campsite reservation?
It depends on the system, and many parks restrict date changes or offer them only as a cancel-and-rebook, which can leave you with nothing. Check your confirmation page for a modify option before you cancel anything yourself. If changes are not offered, your safest route is to cancel within the deadline and rebook immediately.
Are walk-up national park campsites guaranteed to be available?
No. Walk-up inventory is first-come, first-served and fills early in the day, especially in peak season, so there is no guarantee a site will be left. Arrive the evening before or very early on a weekday morning, have your gear ready to set up, and keep a backup plan nearby in case the campground fills before you reach it.
Start With Your Park’s Camping Page
If you take one action from this guide, make it opening the camping page for your park and confirming its reservation system and booking window. That single check answers most of the questions people lose sleep over, and it tells you exactly when to start watching the clock.